Monday, March 17, 2014

Moving a large milling machine with a home made crane...

I got some time to work on moving the mill.  The "mill" is a 1950's Van Norman No. 12 vertical and horizontal Milling machine.  I purchased it on ebay last fall and had it delivered here to the farm.  Was a dickens of a thing to get unloaded and into the shop!   It weighs more than my little tractors front end loader could handle - which means its more than 3000lbs!  I know, you look at it and think it cant possibly weight that much, its not much bigger than a table saw, but this thing is made of cast steel - thick castings, and damn solid!

Anyway, I need to get this thing situated in the shop so I can use it (and get around my shop).  I need to get this thing up off the shipping pallet and onto some round pipes so that I can roll it into place.  To do this I made a make-shift crane out of some rough lumber.   Check out the pictures below for a step by step.

Some of the stuff I had to move to even get to the mill!


Here are the vertical legs for the crane

Before moving the legs into position

Legs in position


The tops of the verticals are just a hair shy of the shop ceiling joists.

Got the horizontal "beam" (log) ready to put up on top of the verticals.


Tada!  The horizontal is in place!  (my wife reads this blog, so I will not disclose how the horizontal got up there!)

Another view of the horizontal beam.  I need to place some braces on it and attach the hoist.

See part 2 of this post!

A few pictures from around the "farm" in early spring


Here are some pictures from the farm, just for record keeping!

Sunrise!


"Mackerel Skies, never lies!"
I think this is an indicator for snow - or something...


I love this one!

Some vetch getting green!


I think I will call this "Lake Walipini"!  lol


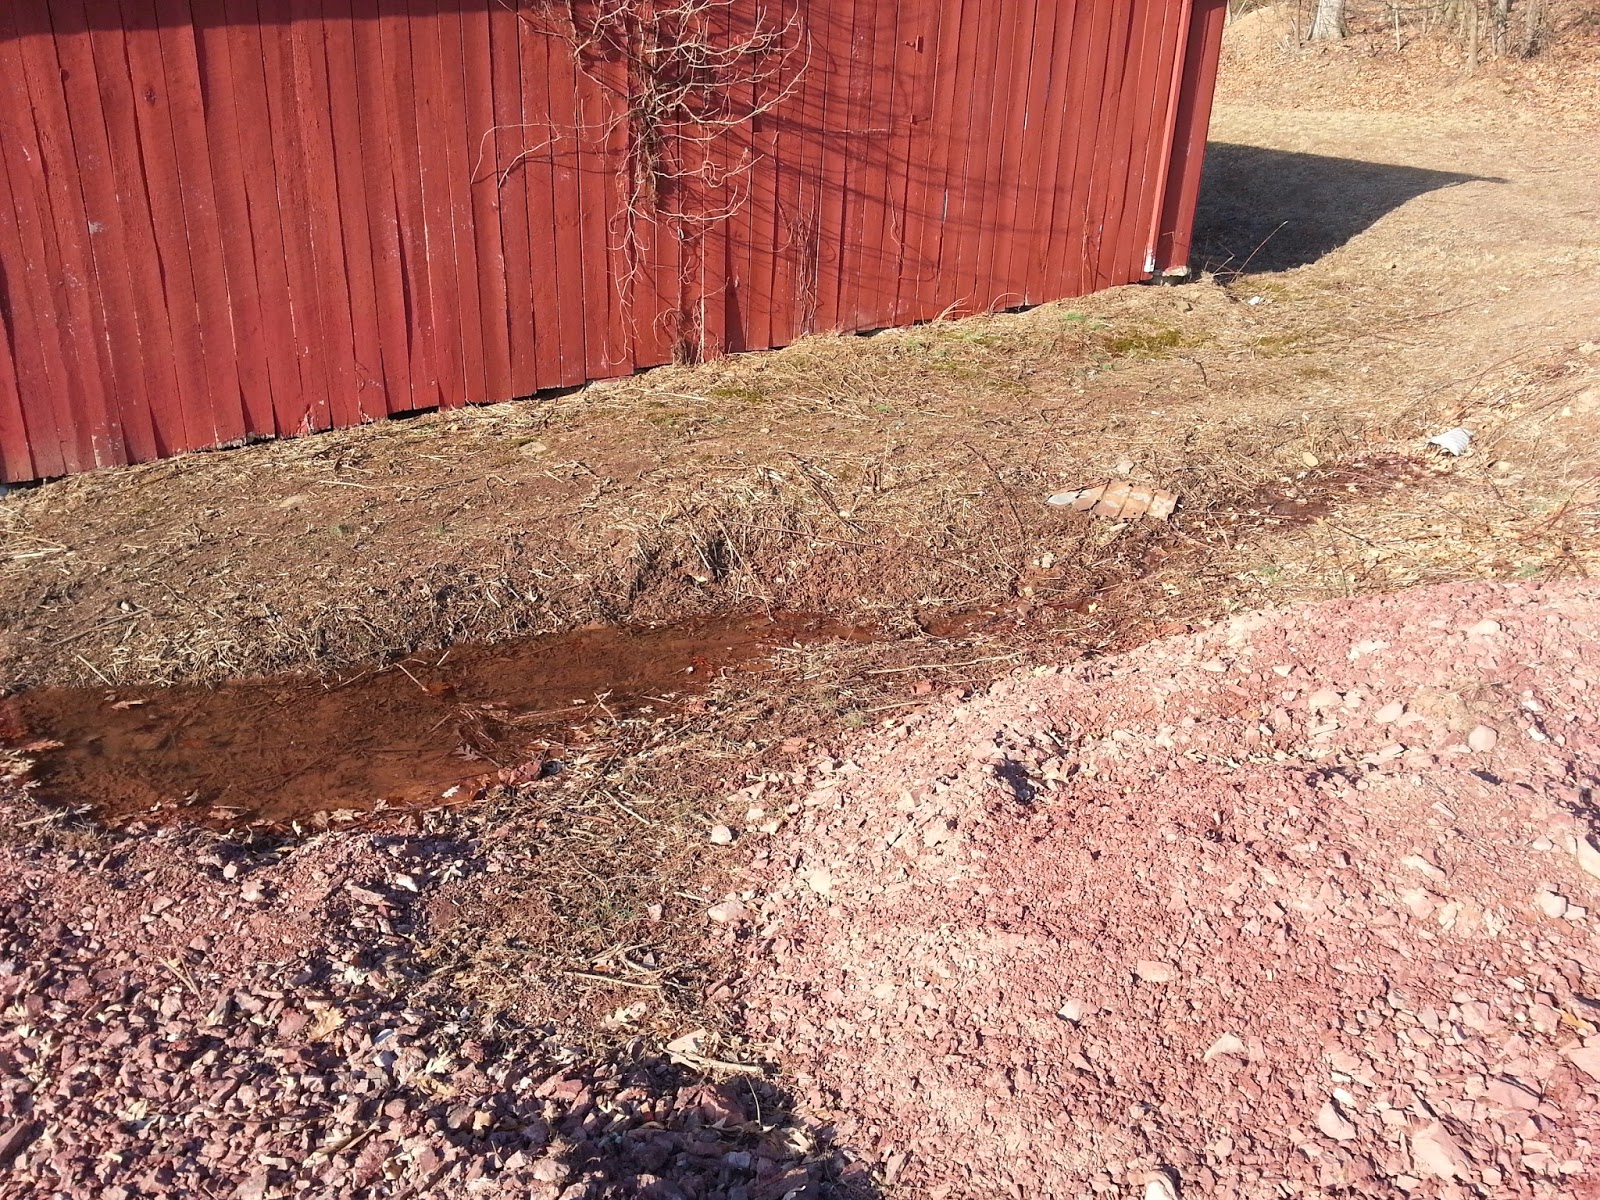
I wonder how long this will last...

My extended trench!

A shot of the gable vent that is a great place for the bees to nest.  I tore this out but didn't get the vent refurbished before the snow.  Now its covered with a piece of plywood until I can get the time to figure out what to do.

New motion sensing porch light!

Close up of the vent.  Its in rough shape.  Maybe I should just buy a prefabricated vent - times getting close for planting season!

Saturday, March 15, 2014

Update on the door installs


I had a family reunion Saturday (Dad's side), so I wasn't able to get a lot of "farm work" done this weekend.  I am so glad I went though, the reunion was fun as usual!

Anyway, I did take some pictures to update the log of the door installs:

The shop door!  OMG, this one was a mess!  

The rough opening is small, but to make up for that it is not square or plumb! YAY!

Took me almost a whole day to get the door in, shimmed and plumb.  But here it is!

This is all caulked and painted now.

Inside view.  Slightly ajar.

Same view, but closed.  No visible light around the door!  Unlike the old door.

Door stairs outside door all painted and caulked in.


The door under the porch (aka, the root-cellar).  I painted it black.  I don't know why.

I had to paint all of these doors in cooler temperatures than I should have.  Hence the patchiness of the coating.  I really should put a second coat on them - maybe this summer.


Working on painting the cellar now.  Almost done.


Tuesday, March 4, 2014

Improvising pumpkin bread recipe!

Oh this could be bad ... LOL

I took our existing pumpkin bread recipe and modified it to lower the oil and sugar content and to increase the amount of pumpkin used.  I just have too much pumpkin puree in the freezer and need to USE THIS PUMPKIN BEFORE IT GOES BAD!

OK, so here is the modified recipe:

First, preheat oven to 350F.  Prep 2 small bread loaf pans (I just sprayed them with Pam, but you could just oil them).

Ingredients:

3 C Splenda (or other sweetener - orig recipe calls for sugar)
2 T oil
4 eggs
4 C pumpkin puree (This batch of puree is a bit watery so I didn't add the water the orig recipe called for.  The relative amounts of puree and water is really a judgement call.  The final batter should flow like cake batter, if that helps!)
3 1/2 C whole wheat flour (I grind my own from wheat I grind fresh from wheat.)
2 teaspoon salt
2 teaspoon baking soda
2 teaspoon baking powder (orig recipe called for 1 teaspoon, but with whole wheat flour I thought this would lighten things up)
1 teaspoon ground nutmeg
1 teaspoon ground allspice
1/2 teaspoon ground cloves

I just mixed everything together in one bowl until it looked well mixed.  Just about 1-2 mins with a big spoon.  Pour the batter into the loaf pans (just split it up evenly).  Bake for 30-40 mins.  Check by sticking it with a toothpick - toothpick should come out clean.   When done, removed from oven and let sit for about 10 mins.  Then remove from pans and let it cool.

Results:

Hmm - its been in for about an hour now.  Toothpick test still shows that its wet inside - just barley though.  Giving it another 10 mins.  It smells very good anyway!

OK.  It's out.  Still shows a slight dampness in the center by the toothpick test, but 70 mins is enough!  Letting it cool now.  Hopefully they will come out of the pans easy....

OK - omg - it worked!  Very well, I might add!  I let them cool for about 15 mins (I'm doing this as I'm working at home - so I get distracted!  Timers are a good thing!)  Then I turned them out - they came out easy.  I let them cool another 10 mins and sliced off a piece to taste.  It sliced nice and tastes great!  Here is a picture:


Again, almost no fat and no sugar!  Now, because of the splenda it does taste a bit "off" - but my wife can't have the sugar that the regular recipe calls for (and I don't need the extra calories)!


Sunday, March 2, 2014

Another door installed!


I was able to replace the second of the two doors in my farmhouse basement this past weekend.  The rough opening in the concrete block wall was even smaller than the one I replaced last week!  UGH!  What this means is that I had to plane down the boards I used to replace the frame around the rough opening.   The boards I had for this job were 3/4" thick and needed to be planed down at least an eighth of an inch so that the pre-hung door frame would fit in the final framed opening.  So, Friday evening I made it to the farm and started planing these boards, even before I had the existing door and frame removed.  I prepped the framing boards as soon as I could because they needed to be cut to fit and painted and the paint dried before I could build the new frame from them!


This is the second of the two doors i replaced in my frame house basement.  This one leads up some stairs to a "bilco" basement entrance.  This wooden door (with no sill)  just isn't stopping critters from getting in the house.

Anyway, I finally got inside and stripped out the old door and frame:

The door and frame are removed and the rough opening cleaned up a bit.
I needed to measure the wood for the frame, cut and paint it before I went to bed!  Here is the painted door rough opening and the new frame installed (I did't paint around the door frame as far as I did last weekend).


The pre-hung door is on the floor, ready to lift into position.
The pre-hung door was still very tight fit!  Also, in this doorway, the opening was not perfectly square - I needed some room to shim!  I did my best - I shimmed underneath the sill to bring it to level, then I shimmed the hinge side of the pre-hung door frame to bring it to plumb.  After the hinge side was plumb, drove screws through the pre-hung frame into the rough opening frame.  Unfortunate, I jumped the gun on leveling/plumbing the rest of the door...  I checked for plumb on the latch side of the frame and found it was considerably out of square AND that the door was not able to close!  I could not figure out how this was possible - I went back to the hinge side and rechecked for plumb - it was!  After some fiddling around, I found a couple of issues.  First issue:  I had not fully attached the hinge side to the frame and there was a bow in the frame!  Second issue: The screws that I had used to secure the pre-hung frame to the rough frame were too long and, in fact, they were pushing through the rough frame into the concrete wall behind - causing the frame to be out of square!  After I fixed these two issues things improved, but were still not perfect.  Unfortunately, at this point, I was too far committed to getting the door in fast.  The silicone caulking was already starting to cure and ripping everything out would have pretty much meant putting this whole install off by another week.  I finished the install and was glad to find that the door was still able to open and close,  Whew!

Door is in - no door knob yet in this picture.


Doorknob is on, door opens and closes!
I still need to paint both of the doors now that they are installed.  I did pick up some black spray paint that says it works on wood and metal.  The painting need to be done when things are warmer and drier.


Saturday, March 1, 2014

Carbon Monoxide Scare!

I'm copying this post from my facebook page since I think it may be useful for other preppers or homesteaders.
----

Was sleeping soundly last night, when, at around 3AM I hear BEEP BEEP BEEP BEEP!!! Well, of course, I hop out of bed and run to see what's going on. Sounded like a smoke alarm. I had been having trouble with getting the smoke to go up the chimney of my downstairs wood stove earlier (which I thought was strange since its pretty cold out and when its cold usually I have no trouble getting the smoke to draw up the chimney). Anyway, I just figured some smoke had made it up stairs and I just needed to clear it. Nope. It wasn't the smoke alarm. It was the carbon monoxide detector! I checked the display and it was under 100ppm in the upstairs hallway, so i didn't freak out (ok, I did a little). I went downstairs to check the stove... SMOKE everywhere (come to think of it - why weren't the smoke detectors going off?). The CO levels downstairs were over 400ppm! I quickly opened the wood stove doors and see that there is a hot bed of coals there - potentially generating the carbon monoxide if there is insufficient oxygen. I opened some downstairs windows then quickly went upstairs and checked the CO levels in the hallway outside my bedroom again. Now the levels were over 150ppm! Well, not wanting to die, took the CO detector into the bedroom and shut the door and then opened the bedroom windows, turned on a small fan and watched the detector. I was contemplating evacuation the house but keep in mind that it was about 5 F outside! Fortunately, the CO levels in the bedroom dropped fairly quickly.. down so low that the detector couldn't read them - so I put on my coat and snuggled up with my dog to sleep.

I successfully survived until morning (I didn't sleep well in that cold) and then I got up and checked the levels in the hallway again - they were still very high - over 150ppm. I checked the stove again - the coals were almost out so I scooped them up and carried them out of the house. Then I opened all the windows and doors, put two big fans to blow the gas out of the house, turned off the electric heat and watched the detector until the CO levels were below the detectors ability to detect. Then I shut everything back up and turned the heat back on.

I then checked to see what happened to cause this problem. I removed the stove pipe and examined it. I noticed lots of soot buildup - but not enough soot to stop the smoke from going up the chimney. Then I noticed that the butterfly valve was shut! But I know I opened that valve when i was building the fire. In fact I checked that the valve was open when I was having smoke issues. I know that when the valve handle is vertical that the valve is supposed to be open. Well, I checked and the valve handle was still vertical - but the valve was closed! I fiddled around a bit and discovered that I could turn that handle all I wanted but the actual valve did NOT move at all! SO basically, the chimney was CLOSED the whole time and the fire in the fireplace was just eating up the oxygen in the basement! The fire was hot, so when it became oxygen starved it started producing carbon monoxide!

Bottom line: If you burn wood, coal, kerosene, or whatever, for your heat, then I HIGHLY recommend getting a carbon monoxide detector. If it weren't for mine, I quite possibly would have woken up dead this morning!


Here are some pictures of the stove pipe that shows the valve controlling the flow of combustion gases from the stove (commonly called the "flue"):

Valve (flue) in closed position.

Valve handle closed: good - thats right.

Valve in the closed position.

uhoh!  The valve handle is in the open position but the valve is still closed!