Showing posts with label glue-up panel. Show all posts

Sunday, January 8, 2017

Vacation Wrap-up


Well, vacation is over.  this post covers some of the things that happened during the last week of 2016 and the first week of 2017.


Chili 


Enjoyed making some chili with ALL home preserved or harvested ingredients!


My own venison from my recently harvested buck!


Beans that I canned last January.  I used Adzuki beans and Kidney beans. They canned great!

The final pot of chili!  It tasted great!!

Workbench top build


I decided to "frame" the 22" wide hickory section of my workbench top with oak so that I didn't have to mill up any more of my "finished" hickory boards/planks.  Remember that this project started when I took a look at the hickory mill ends and decided that it would be such a waste to just burn them (I didn't want to chip them up for mulch because I am not sure if hickory would should be used for mulch - hickory is in the walnut family which produces chemicals that retard the growth and germination of other plants!)  So anyway, I decided to recycle some of the old oak boards that I had laying around the place.  I have already recycled a number of these old oak boards for a canning shelf and for the base of the workbench.  As I started milling the old oak boards I noticed quite a bit of powderpost beetle damage.  I remember seeing lots of damage to the canning shelf lumber too.  I sealed the canning shelf with polyurethane as a finish and that seemed to stop most of the beetle activity.  However, the legs of the workbench have on-going powder post beetle damage (I see piles of dust under the legs!)   Therefore, for this workbench top, I was extra-picky to try to remove any damaged sections of the oak that had powderpost beetle damage.  I went through A LOT of the old oak boards to get the wood that I needed, and even then I still have some with powderpost damage.  I will finish the workbench with some kind of oil treatment and hope for the best!

This is one of the last hickory glue-ups.  I did 3 of them. one 11 inches and two 5.5 inches.


A total of  5 glue-ups were done - this is the last - an oak glue up, about 5-6 inches wide..


After the 5 laminated pieces were complete, I had to carry them out to the shop to plane them!  The 5 inch  wide ones weren't too bad, but the 11" one was quite a challenge!  

First step was to cut the 11" section in half to fit it through the planer!

My re-saw bandsaw did this task quite well!  I put up my roller tables to handle this heavy beast.


After cutting the 11" incher in half I then proceeded to plane the laminates (6 now) so that I had "good wood" and even edges to do the final glueup

Again, I used the roller tables to support the pieces 


They planed up quite nicely!  

I really should have put one edge through the jointer to make sure they were all square, but there was no way to handle these things through the jointer!

All laid out on the floor - ready to move to the workbench top for final glue up!

The final glue up!  I laid all of the laminate sections on top of the workbench and arranged them as best I could to get them square and aligned.

The workbench without a top.  It sags significantly in the center!

Glue up underway.  Clamps in place.


It was pretty cold that night so i placed this space heater on top.  I don't know if it helped or not, but the glue-up worked!


The next step, after allowing the glue to set and removing the clamps, was to "plane" the table top smooth, level, and flat.  I did this using a router sled on some wooden rails.  While making the router sled I discovered that my jointer blades were a problem for flattening boards over 3 inches wide - there was a nick in the blades from last years projects that caused the center of the jointer blades to not cut.  Therefore, when I ran a wide board though the jointer it would wobble significantly!  I burned a day of time learning this lesson!  Since I couldn't flatten a board using the jointer I just found a piece of OSB that was pretty flat and used that.  I made a couple of side pieces edge-straight (the jointer did work for edges) and then glued and nailed the sled together.
Router sled.  OSB with jointed oak sides

I made a couple of rails from old oak(?) I found and jointed.  I aligned them using the "cross string method"

The router sled runs on these rails.  The router bit height is adjusted to the lowest part of the table top and then moved across the table until the whole surface is routed to the same height.

Here shows after the first couple of passes

it works!


DONE!  I had to use some hand tools to get the edges, but that was easy.

Level and flat!  (actually, its mostly flat - if you look close there is a slight "sag" in the center that I think was caused by the sled sagging when the router was furthest from the edges.)

Sweet!

After flattening it, I sanded it a bit and patched a few mistakes and some glue-gaps.  Then I used some Watco Danish oil to finish it.  I only had time to put on one coat of oil so far.  I will do another the next time I am at the farm.

Before danish oil

After danish oil!


Pretty!

I also trimmed off the rough edges.  I used the hand held circular saw and then a hand saw to finish up.

At the upper right of this picture you can see the boo-boo I did.  Just at the end of routing it flat the router sled slipped off the rails and the router gouged out a section!  GRRR  I used some wood filler on it.  

Whew!  After doing all of this, I am thinking that maybe I should redo the base of this workbench! 300lbs is a lot for these legs.  The table does move (wobble) when you force it....  and I am not done adding weight yet.  I need to added the vices yet!  There is only 4 "board based" legs on this bench. Thinking I might replace these with 6 solid wood legs.


Faucet Replacement - sink repair


The kitchen faucet went out at the Silver Spring house.  The under counter part that held the faucet in place rusted out.  So i went shopping for a replace faucet.  I got one that had the long gooseneck with a sprayer built in.  This seemed ideal until we realized that we have a portable dishwaser and needed a ordinary faucet nozzle to fit the dishwasher adapter to!  I thought about it awhile and decided to add another simple faucet to the same sink - this simple faucet would then server as the dishwasher adapter faucet.  Instead of using the base plate to cover the old faucet holes I just used some plugs.  I think it turned out pretty nice!  The only problem now is tat the hot water feed line leaks a bit under the sink,  We have a bucket there now.  I am hoping that it self-seals; they often do.


Dishwasher adapter on left, fancy sprayer on right.

We put the dishwasher one on the left to keep it from splashing the clean dishes in the rak to the right of the sink.  However, the gooseneck makes the splashing so bad that even  on the left the splashes reach the clean dishes!  We will have to figure out something..


Miscellaneous


I finally got around to making some elderberry liqueur.  Well, I started it anyway.  It needs to sit for about 6 months.  I haven't added the sugar or lemon yet.    I made about 2 quarts.  I followed a recipe on the internet that called for 1 quart vodka, 1 pint elderberries, the peel of one lemon (with white stuff removed) and 1/4-1/3C sugar.  


It looks really pretty!


I also made a couple pies.  I am trying to "eat out" the freezer a bit so that I can fit my venison in (its in mom's freezer now).  While going through my freezer i found a container of blueberries that I picked the year before, so I grabbed them and a couple pints of canned apples (I am also trying to use my older canned goods) and made these pies.  They were quite good!


Apple-blueberry pies. 

More trees coming for the new year!


I went ahead and submitted an order with "Cold Tree Farms" for the following:

(placed on January 4, 2017 9:39:35 PM EST)


ItemSkuQtySubtotal
Black Walnut (Juglans nigra) - 1-2'WABL1225$27.50
Northern Pecan (Carya illinoinensis) - 6-12"PECA6124$18.60
Ginkgo (Ginkgo biloba) - 1-2'GINK1225$37.00
Chokeberry (Aronia melanocarpa) - 1-2'CHOK1230$51.30
Choke Cherry (Prunus virginiana) - 1-2'CHCH1225$51.25

I saw that the Fulton County Conservation District has also put put their tree order sheet for next year so I need to put that order together too.  I really should plan out where I am going to put all of these trees!


Sunday, December 11, 2016

workbench-top glue-up # 1


The glue-up


I decided to do the entire glue up in one shot.  Big mistake.  Spreading that much glue over that many pieces of wood and fitting them together is practically impossible to do before the glue sets!  What a mess!    I fit the pieces with one side flat on the floor because I couldn't think of another way to make sure that one side remained flat.  Its not ideal since it will make one side of the glue-up dry faster than the other but it seemed to be ok.

Layed them out to see how the fit was.


I didn't show any of the actual glue up process since it was painful and I was sore and pissed!  Here it is partially dried 

Here it is after drying  (mostly)  This was several days after the initial glue-up.  The bottom showed some glue was still wet!

I let it sit like this for a couple of weeks to assure the glue was nice and cured.


Sunday, December 13, 2015

Dizzy Weekend


Woke up - Sat up, DIZZY!


I didn't notice any problems the night before but I sure did once I sat up in bed!  Vertigo!  Things were spinning pretty good.  I closed my eyes for opened them again.  Things got back to normal.  But if I turned my head too fast things became all spinny again.  Ugh!   WTH?  Really freaked me out.

I spent most of morning trying to figure out what was up.  I wasn't getting worse and in fact if I just moved slow and even, things were ok.

Possibly because of allergies? Inner/middle ear infection?  I did have a lot of fluid in ear the weekend before due to the type of ear protection I use when chipping wood...  Well, life goes on.


Sawmill-lathe project


I could have done more sawmill work, but since I was a bit concerned over dizziness I decided that I would not push my luck with big machines.  Besides, it was too freaking HOT!  Temperatures got into low 70Fs!  So I decided to work in the shop on lathe idea I have for the sawmill.  I have a bunch of smaller logs that aren't going to be good for lumber, but they could be useful for fence posts and small utility posts.  But, you really need to get the bark off of them (bark promotes rot and insect infestation), and it is sure nice to use a perfectly round post!    I looked at the lathe-mizer attachment for the woodmizer mill I have and its just too expensive for me to justify buying it.  But the concept is simple.  So I came up with a design that I think will work and started making it.  I bought most of the hardware for it last weekend at TSC.  I milled a bunch of pieces of oak boards for making a couple of small glue-up panels for the bases of the lathe (head and tailstock need something to sit on - the mill bed is just relatively thin metal support rails offering no support for my head/tail stocks.


First - the glue-up panels


I trimmed the boards to length and then jointed the edges of the oak boards again (I discovered I had the jointer jet at an angle last weekend).  After I cleaned them up a bit I took them inside to glue.

I laid them out to figure out how I was going to clamp them so that they remained aligned and true. That's when I realized how bowed they were.   I read in my woodworker magazine that you could handle "some" bowing when you glue up, but depending what you want to use the panels for, it was usually wise to just get new unbowed boards.  Well, I figured that since I am not making furniture with this stuff that I could accomodate a bit more bow than what a furniture maker would like.  I did consider jointing them on the flat sides to get rid of the bow, but they are already only 7/8" thick which is just about as thin as I would like for the bases.

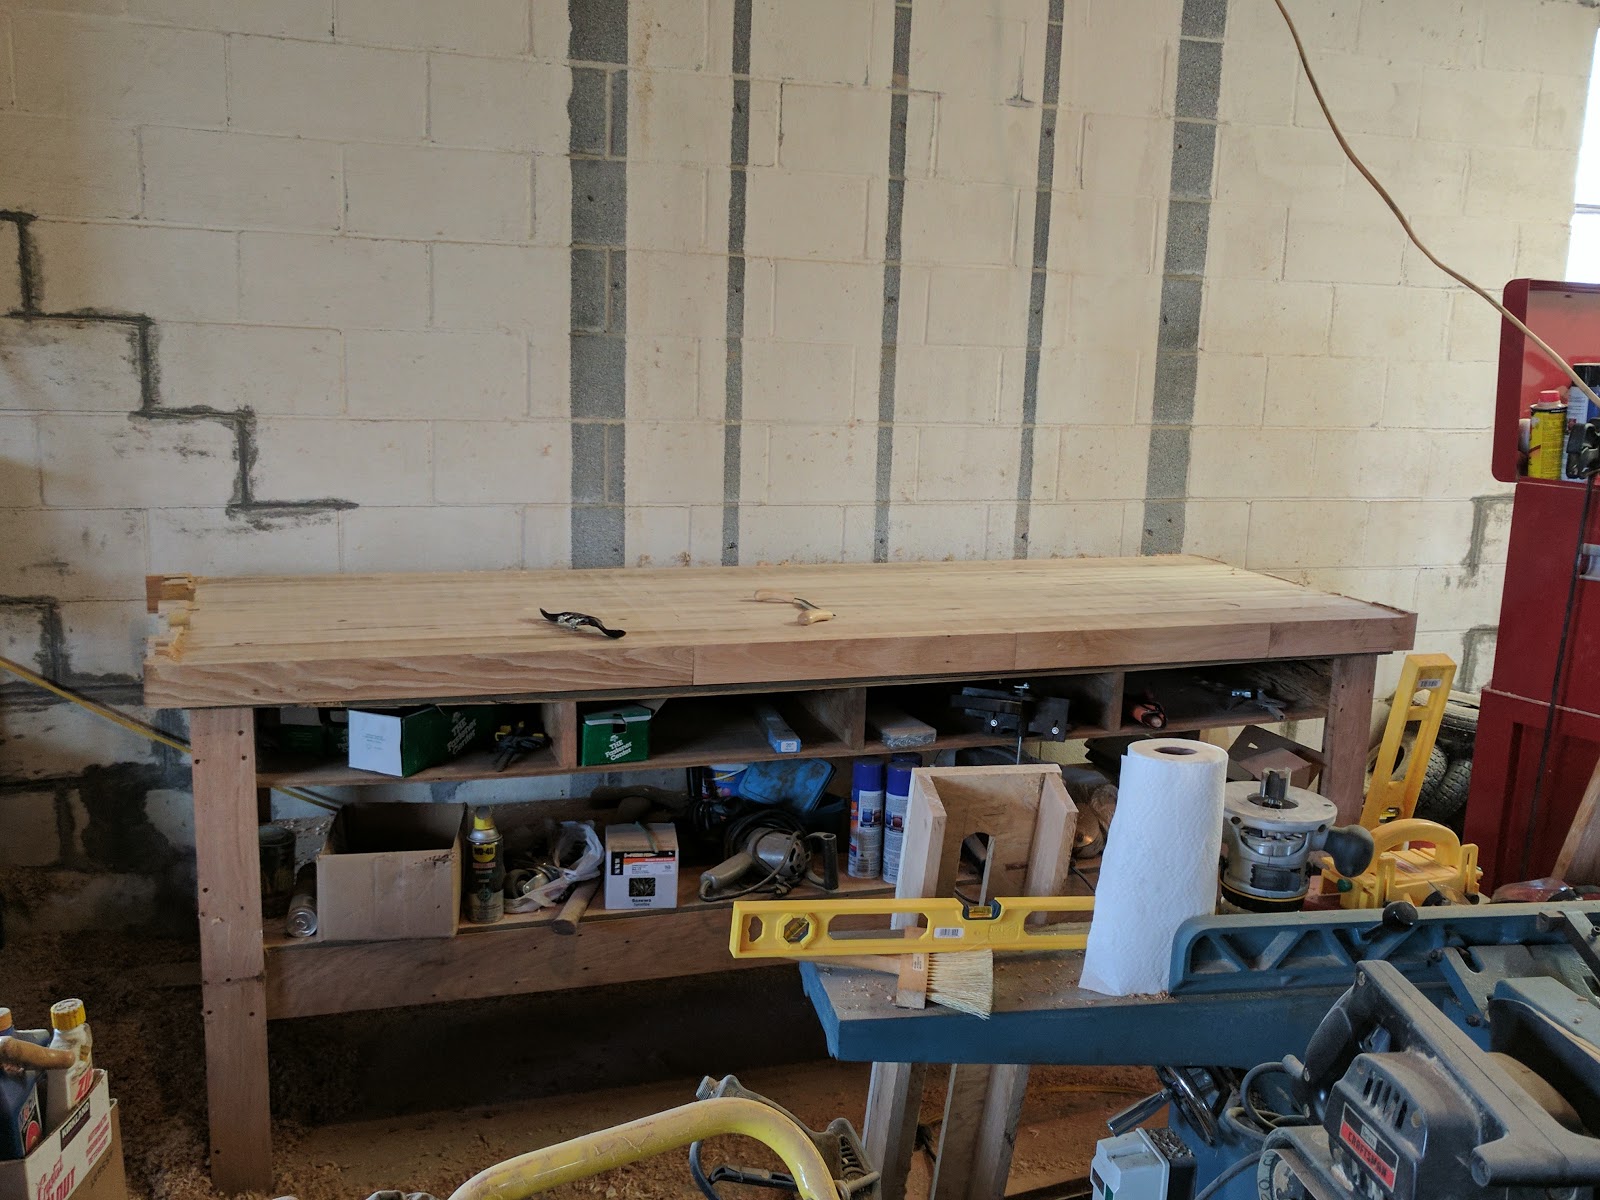
I decided it was worth while to make plenty of support pieces to make sure the panels were as flat as I could while they were gluing up.  Of course, I was short of clamps!   I rigged up a clamping system shown below that i hoped would keep things straight and square and FLAT!

These are all of the panel boards just laying on 2 support pieces.  This is when I realized how bowed some of these boards were.

You can see the bowed boards  more clearly in this picture.

Getting ready to apply glue to edges.


Glued and clamped


First panel.  I might put these through the thickness planer..  Honestly though, not bad!

2nd panel in the clamps

I wish I knew what kind of wood that top brace is.  Its something I milled.  Its nice wood.  Strong, fine grain.  Birch perhaps?


The head stock assembly


I used the tire sets that I got at TSC for the bearing and for the mounting plates.  I didn't know it at the time, but these things can be disassembled!

These are about $17 at TSC!

I don't need the big rubber tire though.

This is all I need

Made these boards for the uprights

Cut some holes in them to accommodate the bearings

The leftover "holes"

My little drill press had LOTS of trouble getting through this oak!  I am going to have to get a bigger one.

All four boards have their holes here.


Bearing fit in and bolted

BUt its still a bit sloppy...  I ended up using 2 of the tire bearings each side.  I will have to get 2 more tires from TSC.


Get the idea now?  I will have to do some welding.


Face plate issues


I started to look at the steel pulleys that I got to make the face plates with and decided that I need to either grind off the pulley channel part or cut it off with the metal lathe.  But I haven't set up my metal lathe yet...

So I started to look at the lathe to see what I need to do to get it running.


Found the face plate of the motor.  OK, now i know what the power requirements are.  3HP - nice!

Thisis the faceplate of the lathe itself.  Its actually a pretty nice lathe!  Hardened ways (that's what the -H means in the model number).  Its'a 14 inch swing and 40" between centers.

OK - quick guess at wiring and I got it running.... backwards.  When I tried to switch it the circuit blew!  DAMN

Just need to figure out where I need to plug in the power!  I am thinking I am going to end up taking the motor out to get to the connection box so that I can follow the motor wiring backwards..

Heading home early


I took off for the city house early.  I was getting pretty anxious that my dizziness may get worse if it was caused by ear infection!  I was at the farm by myself so I needed to be able to drive well enough to get home!  Waiting too long may get me stranded!

I made it home (125 miles - was getting dark by time i got home).  Wasn't bad drive in retrospect.  I was anxious as hell, but I kept it under control. As long as I don't move my head too much I don't seem to experience the dizziness.

I called my PCP on Monday morning and found out he and his staff were useless.  Furthermore, PCP is changing plans next year and I need to find another PCP!  Long story short, I talked to UHC nurse on phone and she was great!  Told me to go to urgent care and even set up appointment for me.  Also helped me find new PCP!  I went to urgent care where they said I had ear infection after looking in ear.  Gave me prescription for antibiotics and nose spray AND got my blood pressure and diuretics refilled!  YAY!  I made appointment for next week with PCP.  I hope she is ok.  This stuff makes me so anxious.  I am writing this on 3rd day of antibiotics and still dizzy.    Although. search online says that 2-4 days is not unusual, and if lots of fluid and /or damage it can take up to 3 months to get rid of dizzies! UGH!