gardening, self-sufficiency, homesteading, food preserves diary
Blog documenting progress in transforming new property (50 acres - mostly wooded) into garden-farmette . Trying to become more self-sufficient and more self-aware.
Showing posts with label grape arbor posts. Show all posts
Showing posts with label grape arbor posts. Show all posts
I continued to practice my welding skills on the nutcracker build. I am, slowly, getting better I think. I am still using .030" flux-core wire in my welder, so technically I am NOT doing MIG welding. MIG requires a shield gas.
Handle/lever was added - its now functional!
Here I still need to chop off the tail and figure out an option for the clamp.
Video showing the nutcracker in operation!
Throttle control for the backhoe
It's still too cold to even consider starting the backhoe, but I figured that I could still try to fix the throttle control. As you can see from the pictures below, the cable broke off from the control lever.
Well, long story short - the throttle cable evidently got some water inside of it and froze - I couldn't move that cable at all! I considered forcing it, but I didn't want to risk breaking that cable anymore - it's too close to the point where I will need to replace the whole run of cable if it gets any shorter!
Not much cable on this end to work with!
There is some cable length at the other end I could pull through - if the cable wasn't frozen in place!
The next day, however... it warmed up enough for me to pull a little bit of cable through - enough to get a hold of anyway!
I managed to straighten out the cable enough to get it through a hole that I drilled in the bolt shaft on the throttle lever.
The cable is secured in place on the throttle lever by two nuts I tightened against each other
I am still afraid to try it out because its cold and that throttle cable is brittle! I am also thinking that I should put some loctite on those nuts to keep them from loosening from the vibrations.
Examining some of the scrap walnut
I had moved some of the scrap walnut from the floor and cleaned it up and temporarily restacked it on the sawmill bed. I brushed it off good too. I think there may be some good wood in some of this stuff!
There is a fair amount of this walnut
There will be some waste, of course, when milled into a usable condition
Here is a piece that I trimmed and put through the planer. It actually looks quite nice! Very nice wood to work with as compared to oak and maple! I ended up giving this piece to friend at work who helped acquire and mill this wood. He has considerably more carpentry skills than I do.
Post soaking continues
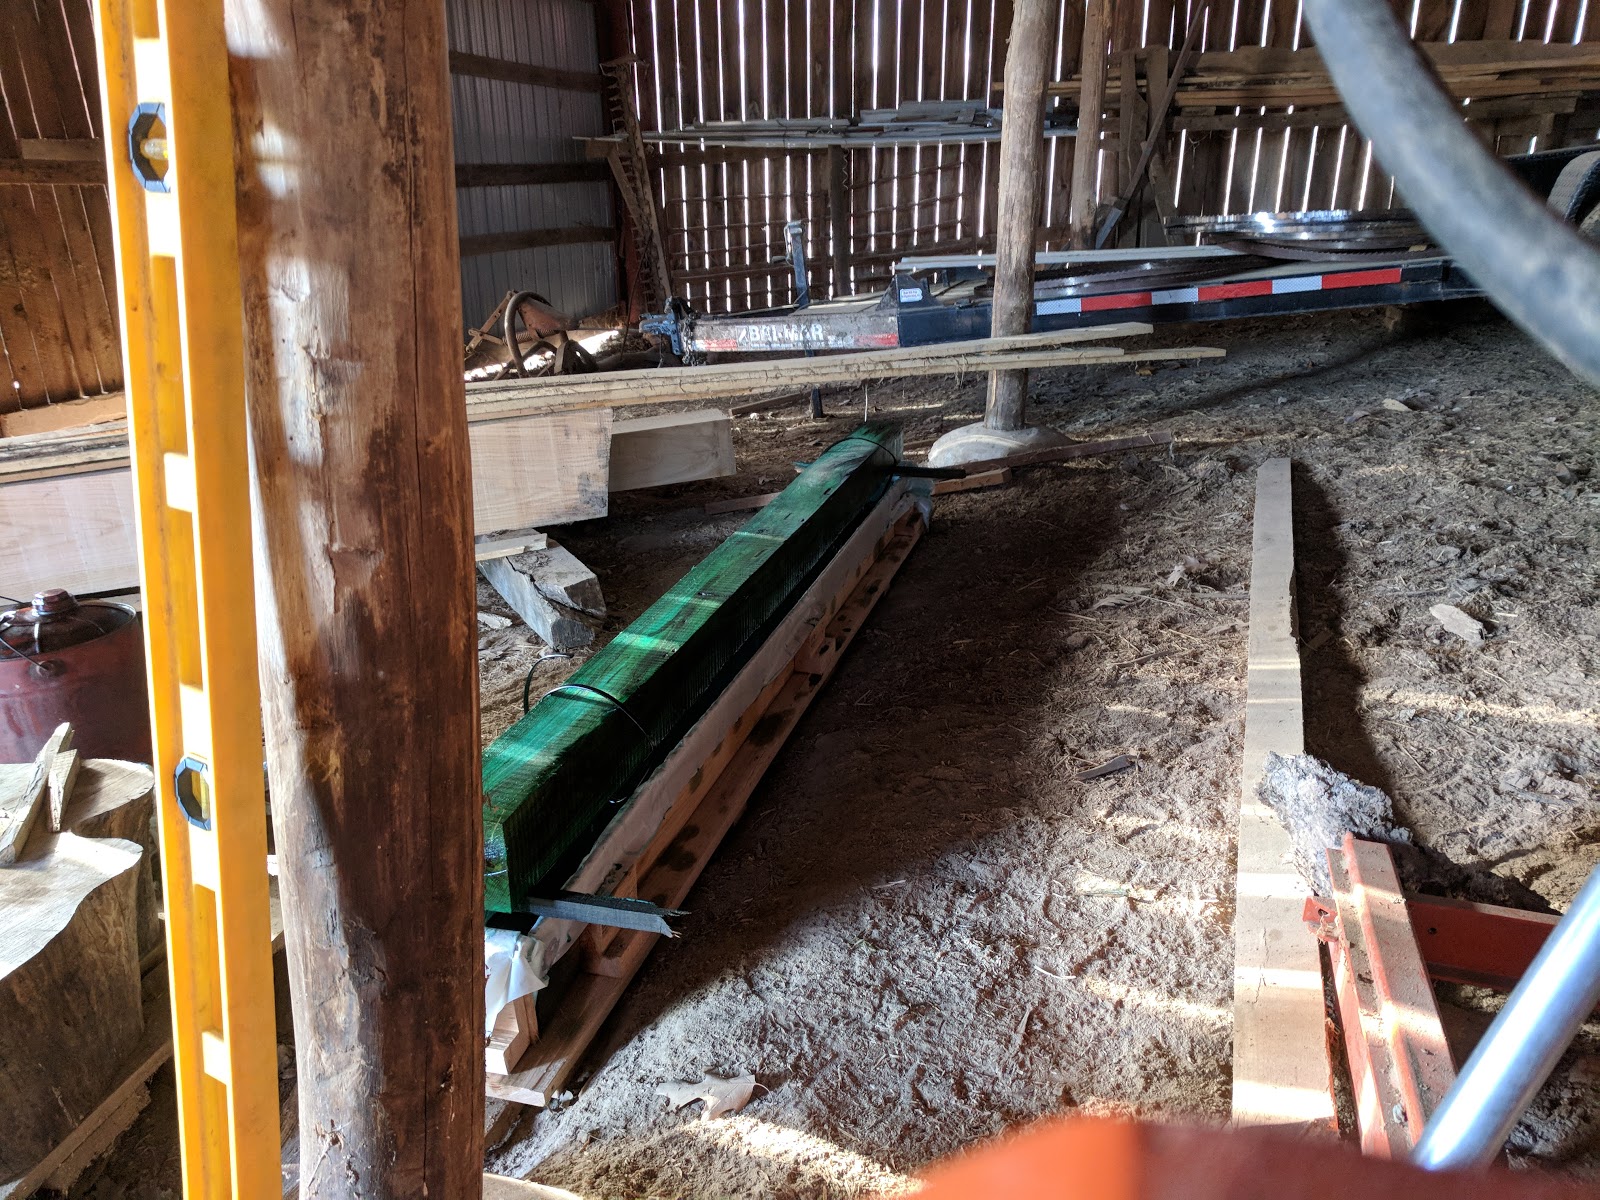
I have been trying to get one post a day through the copper naphthenate bath. I like to let each post soak overnight. I think that some of the ones I did when it was real cold out may not have absorbed as much preservative as they need. I may put them back in for a while.
Six posts left to go!
I am not using as much treatment chemical as I would have thought. The wood only absorbs so much. I have used about 1 gallon of the CuNap concentrate so far. I did mix mup another batch this weekend.
Welding table - ideation to early build in one day!
In preparing for the welding I will need to do for the belt-grinder build, I decided to just make a welding table. I determined I needed one after looking at the damage my tablesaw table was taking from my nutcracker build!
I found pretty much everything I needed right in one place - my garage! Actually sitting next to each other!
Looking around for ideas and scrap to work with - I found this old packing frame from my woodmaxx woodchipper!
Old shelf support brackets (I think) from an old store
Just need to get it out...
After using metal cutting chopsaw to liberate these square steel tubes
Just need to correct the height and attach those tubes and its done! Next weekend will see it done!
Belt grinder supplies are in!
I have everything (well most everything) I need to build the belt grinder! Now the hard part...
That's about $200 in metal there! Not to mention the shipping. Ugh.
2 HP electric motor! 3-phase, sealed (TEFC) Bugger is heavy.
Tractor and UTV off to be fixed and maintained
Now that it is snowy/cold/icky outside and I am not in dire need of my tractor and UTV, I decided to have them serviced. Hines came out Friday and picked them up just before the rain started (as it started actually). They got them both on the same truck. They were packed in tight though.
We had to push this down to the truck bed from the garage - fortunately its all downhill! They used a winch once it was this far.
The tractor was able to back right up onto the bed.
We got together on the 6th of January at Mom's house. Unfortunately, Connie, my sister, was unable to attend. She had come down with a bad cold and had to cancel at the last minute. The rest of us got together and had sauerkraut and pork. Lots of cookies too. Too many cookies. LOL. Ah well, its tough time of year to be on a diet! I was doing pretty good. I was down to 245 just the day before the party. That's 40 lbs down since October!
COLD
The weather is in it's 2nd week of single digit temperatures. The doors on the country house where actually sticking due to ice condensing between the doors and the frames! We had a dog-grooming scheduled for Saturday morning, but they rescheduled for the 13th due to the cold weather. I guess it was considered too dangerous for some of the pet-owners to get to the shop. I have been doing work in the shop as much as possible to avoid the biting cold winds.
Welding practice and Nutcracker build
Last week I was just running beads and welding silly stuff together to practice my MIG skills. That was ok, but it got boring, so I decided to see what I could find on Instructables for small welding projects. Well, I stumbled on a nutcracker design that sparked an idea. I designed my own, similar to the one that was presented but using my old square shelving tubing (of which I have a LOT). I scrounged around a bit and found enough steel to give the build a try. I am winging a lot of it.
Since the walls of the tubing is thin, I decided not to drill holes into it, which would further weaken it.
Instead I welded the pins to the surface of the tubing.
I made tabs of steel and drilled holes through them and welded them to the sides of the tubing. These tabs are thicker than the tubing walls and provide a better bearing surface.
My welds are improving. Its still damn difficult to see the weld while its happening though. My breath fogs the helmet!
Oh. I got a new welding helmet too. Its auto-darkening, and unlike the old one, it seems to work more reliability.
I have a concern that maybe I didn't leave enough room between the hammer and the anvil to fit a nut in!
Here it is with the pusher rod attached and forward
And with the pusher rod pulled back.
I have 4 more tabs to cut and the main lever rod to put in place. I tried to get it done Sunday, but it was too damned cold to be outside for long, so I decided to just wait. It's just for welding proactive anyway.
Post wood-treatment continues
I was only able to get another 2 posts done since we weren't there very long this weekend. I didn't even take the tractor over to get the remaining posts to saw to length. I did pull them out of the stacks though, They are ready to grab and saw when I get there this coming weekend.
Another post is in soaking. At these temperatures I think it takes longer to soak in! I let each post sit overnight when I first put them in. Then at least 4-6 hours when I flip it over. Sometimes overnight for the second side too.
Seven (7) posts done by the end of this weekend!
The variety of wood is quite apparent here!
The darker wood is red-oak. I am not sure what the lighter wood is - maybe basswood or poplar.
I pulled these seven (7) posts out of the lumber stacks to get ready to trim them to length. It was just too cold to go and trim them this weekend!
I still have two (2) posts already cut to length and ready to go yet anyway. There is also one soaking in the trough. So I have 17 posts. I need at most 13 for the fence, and 2 for arbor post replacements. I might replace other arbor posts though, since I am betting there are more that will rot off soon.
I have another 5 posts cut to length (I cut them to 98 inches long) and ready to soak. I counted the posts I have still in the pile and am pretty sure I have about 17 in total. There are 2 that are 4.5x4.5 inches, I will probably use these as the arbor posts. I am considering using 3 posts per corner of the grape fenced region. I will need one (or two) for the gate. So I will need 17 JUST for the fence! I need 2 more 5x5s. I might actually have them in the barn. I have to look over the lumber stacks.
4 posts done! 5th one is in the trough soaking. Interesting how the color varies depending on the type of wood. I think I have basswood, red oak, and white oak here.
Considering how much I splash out, I am glad that I decided to do the soaking out in the barn and not in my shop!