More lathe restoration work
I started going over the lathe trying to figure out all the levers and controls. Found that the gear-select levers on the power feed (and threading gears) were sticking. In fact, one of the gear-select levers was absolutely "frozen". The gear "box" is actually open at the bottom so I was able to use my phone to take some pictures and videos to see what was going on.
 |
Using phone to take picture "under" the gear box while its still in place.
On the lower right corner of this picture you can see some rust on a gear - that is where the stuck lever is supposed to engage. |
 |
| Another "under the box shot" with phone. Trying to get a better shot of the frozen lever area. That area is just too congested to get a decent shot. |
At this point I realized that I would have to take the gear box off the lathe to get a better look. After fiddling for most of a day to get the gear box off I finally had some success. The gear box is easiest to remove from the right (as you face the front of the lathe). The issue is the lead screw..which is threaded the gear box (actually attached to it), the apron and of course the tail side of the lathe. I discovered that the various head stock covers are actually fairly easy to take off. So after a bunch of fiddling here is what I found:
 |
Actually able to see into the gear box now that its off the lathe!
The lower left is where the stuck lever is. See the rust on those gears? |
 |
| This shows how I took off the gear box. |
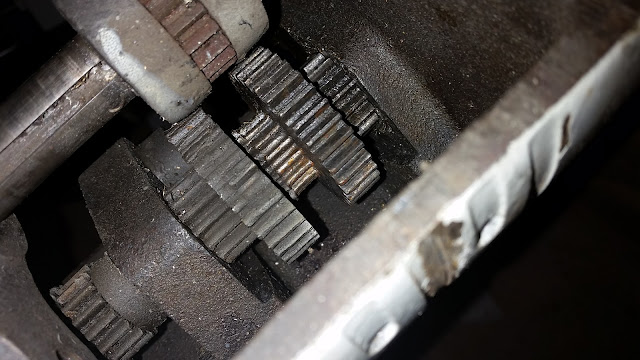 |
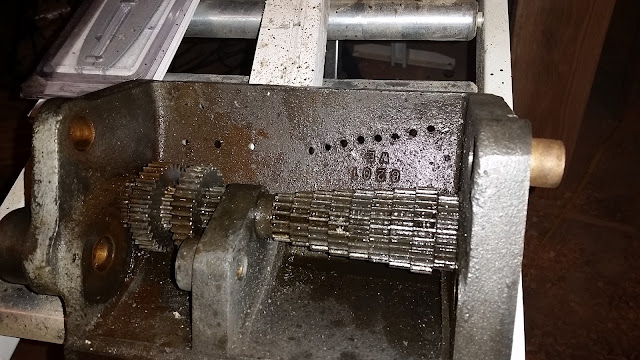
| Frozen lever on top. Severely worn gear - third from the right. |
 |
| The stuck lever and gear. |
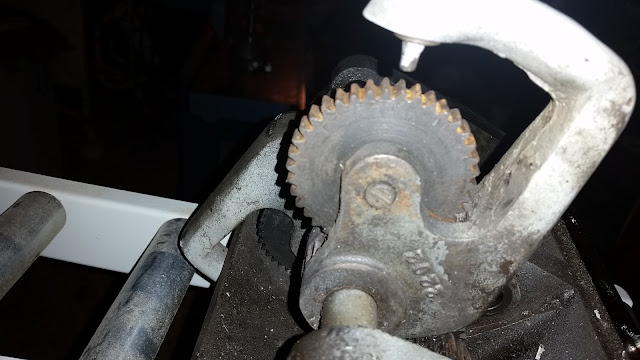 |
| Another view of the stuck lever |
 |
| Looking at where the stuck gear would have engaged, I see a gear with some broken teeth! Look in front of where I am pointing in the picture. |
After taking off the shaft that engages from the gearbox to the back-gears I am happy to see no more broken gears...at first..
 |
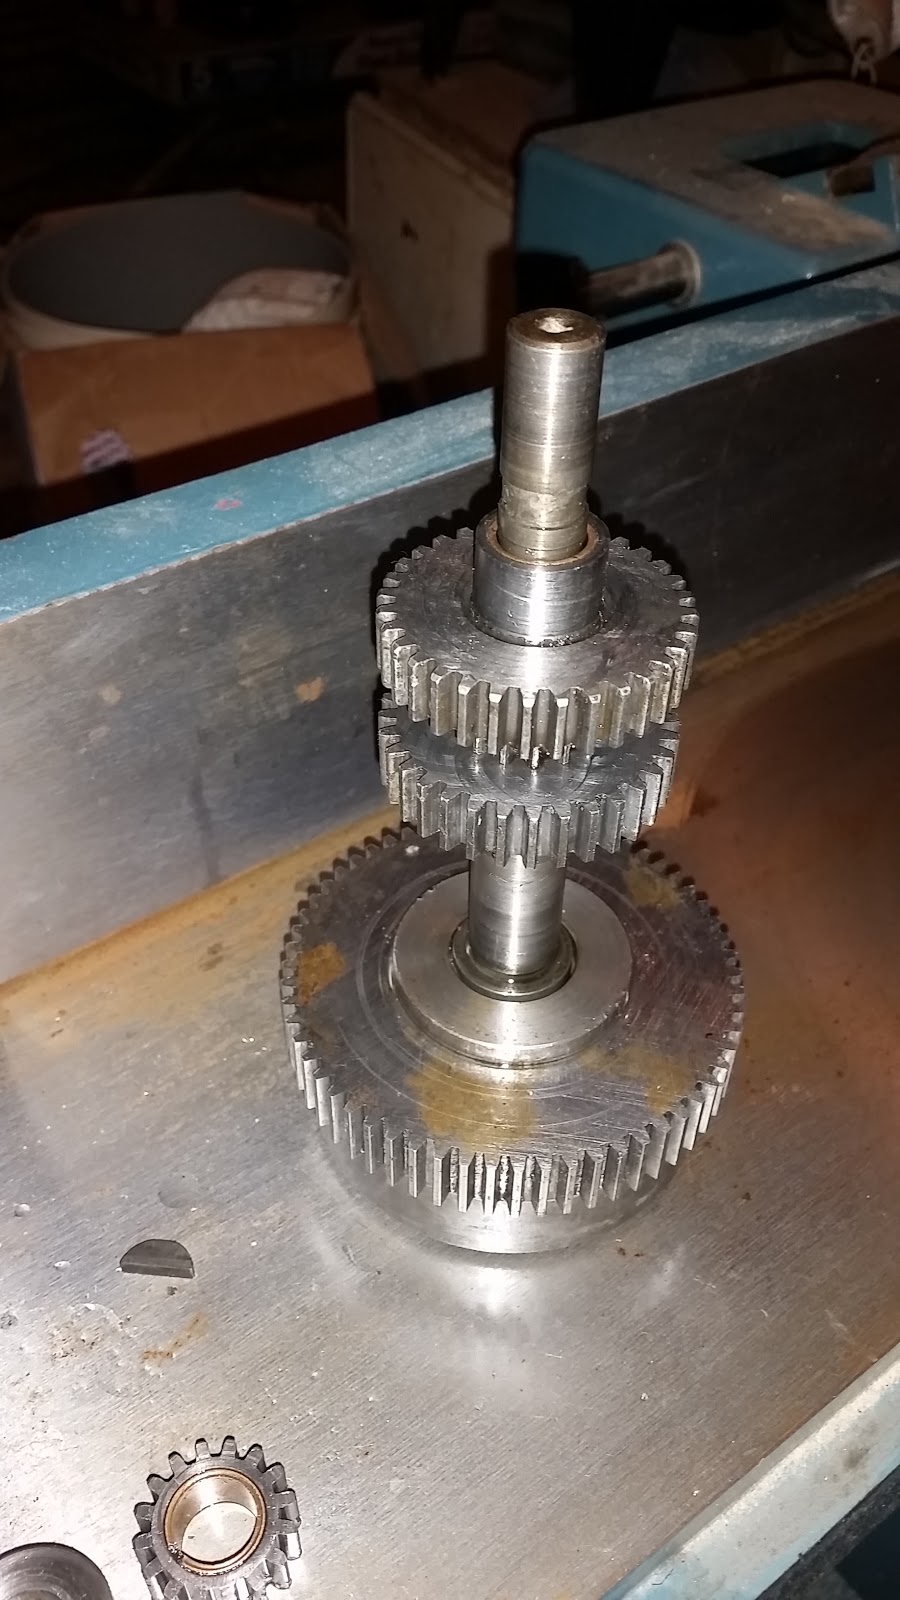
| The shaft that holds he gears that engage the back gears from the gearbox. The big gear on the left goes to the back gears. |
 |
| These are the gears that engage in the gear box. Looks ok, right? |
 |
| But on closer examination of this gear I realize that on the small smooth hub on the right of this ganged gear there seems to be the hint of gear teeth real close to.the crotch - you can kind of see the missing teeth in this picture if you look closely. |
So, evidently. this gear was broken at some point in the past, and instead of replacing it, they simply faced off the gear teeth! So basically, what I found was that one gear had been milled smooth, one gear had broken teeth, and one gear was severely worn. I purchased and downloaded the lathe manual from
Logan (yes, they are still in business and still supply parts for this lathe!). For the record, my lathe is a Logan T-6560H (14" swing with a 40" bed). Then "H" on the end of the model number indicates that it has flame hardened ways. Nice! I believe the "T" in the front of the model number indicate that it supports a turret, although mine doesn't have a turret, I could purchase one should I choose to convert this into a turret lathe! Nice!
Upon examination of the gearbox diagrams I determined that all three of damaged gears are EXACTLY the same part number! Logan part number 1392. Looking that part up on the logan website indicates it costs $220 - EACH! that would be $660 to replace all three! UGH
 |
| This shows the gear box with the lever shaft removed. |
 |
| Closeup of where the lever shaft would be |
 |
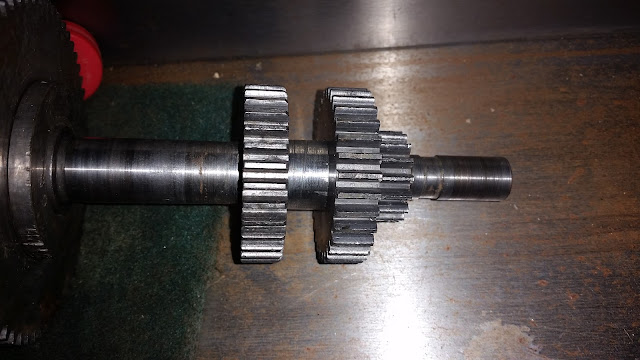
| Closeup of the worn gear (third from the right). |
After watching some youtube videos on this matter (
tubalcain) I decided to check on eBay for these gears. I was lucky and not only found the part - but I found 3 of them and they are only $38 each! So instead of costing $660 I bought the replacements for only $114! The only problem with the replacements are that they don't include the inner bushing. I will have to recover the bushings from the existing broken gears.
I continued with the disassembly and cleanup of the gearbox. I used brake fluid cleaner to remove the old grease and dirt (and chips that got impacted between the gear teeth),
 |
| This picture shows the box completed emptied of gears. I am showing the placement of a bushing/spacer here. |
 |
| Same spacer. |
 |
| Showing the gear train. Note the key. Note that this is going to be a bugger to put together again I bet! |
 |
| After cleaning the gear train with brake cleaner |
 |
| More cleaned gears and shaft for the back gear connecting portion. |
 |
| I did squirt some WD-40 on these parts since, once cleaned with brake cleaner, I was afraid they might rust! |
Backhoe
Well, the backhoe wasn't starting for me, even after recharging the battery for days! My next thought was just to replace the batteries (2 6 volt batteries in series) with 2 12 volt batteries in parallel. I can pick up cheap 12 volt batteries at Walmart for total of about $220. As I was looking over the battery box I realized that the 12 volt batteries would not physically fit, but more importantly I also realized that I was charging only 1 of the 6 volt batteries! So I re-connected the charger, this time to the correct terminals!) and let it charge for several hours. I had to charge at 35 A to see any effect. That one battery hasn't been charge and is pretty fried I think. In any case, after trying to start it again I got it to turn over and run for a few seconds! It was fairly cold out (just a tad below freezing) so it took several attempts to get it to start and run - but it runs! After letting it warm for a bit I moved it back into the garage. I was careful to put the locking pins in and put the bucket down in a position that should keep it from drifting in the garage wall (like it did last time!). I should point out that the "forward" and "reverse" pedals are identified in the backhoe user's manual!
The starting procedure is:
- Put the machine into neutral using the big lever on the left of the steering wheel column.
- Turn the ignition key to the right - one click
- Push and hold the glow-plug heater button (silver button on the lower right of the front panel). Hold it in for about 60-90 sec (if cold). Make sure it pops back to the off position when released - it has a tendency to stick!
- Now turn the ignition key all the way to the right and depress the hydraulic release pedal on the floor - back of your left foot as you sit in the drivers seat.
- Open the throttle wide open
- Hit the starter button to crank the engine.
- It should start at this point. Keep trying if it does not.
- Once it starts, turn the throttle down to something reasonable, Don't leave it wide open - it is hard on the engine!
- Don't forget to take it out of neutral before you move it! Also, be sure to remove the locking pins!
 |
| Back in its place in the garage. |
Pumpkin processing and seed saving
I baked the last of the Musque de Provence pumpkins (they were starting to get bad spots) and pureed the meat. I also saved the seeds. I used 6 Cups of the puree to make pumpkin leather! I used the nchfp
recipe.
 |
| In the dehydrator. I made 3 trays worth. |
 |
| I package this one up and took it to the New Years family get together |
I took one of the 3 batches over to mom's for the New Years family get together.
Since this was the last of the pumpkins I decided to save the seeds from these (also - they were FAR away from any other pumpkins so they should be true seeds.) After I washed the seeds well, I placed them in the dehydrator at 90F overnight. The goal was to removed as much surface moisture as possible so they wouldn't mold during storage, but not to remove so much that the seeds would be denatured.
Bear meat!
I took some goodies over to my neighbor for the holidays and he gave me several pounds of bear meat! This was some of the 300lb bear he shot earlier this season. I haven't tried cooking it yet, but I am excited to try it! He also gave me some "chipped venison", and some venison hot dogs and summer sausage!