Showing posts with label shop lights. Show all posts

Sunday, January 22, 2017

New lights, new workbench table legs. Tree layout and planning/ordering


Dust room "door"


Before I started any more wood work I wanted to get the door to the dust partition set.   I found a neat "zipper" product online, but it wont get here in time, so I just made a temporary door for now.  Just a piece of plastic attached above door with a wood strip attached at the bottom to weight it down and closed.  Later I intend to tape this door closed and put a zipper door in.


Not beautiful, but effective enough for now.

Shop Lights


Since the dust partition blocks the light from the LEDs over the metal tool area, I decided to install the remaining 6 LED lights that I had in the workshop area.  This had always been my plan, but now I had to put them up since its so dark now!  I had to go out and buy an extension cord and some fixtures to accommodate these lights.  A lot of fiddling around, but I got it done.  Each of these lights has a single drop down chain/string to turn them on and off.  Not my ideal solution, but it gets me up and running this weekend!  I need to get this shop rewired sometime.


I had to put one of these lights above the garage door - above the rafters to avoid getting hit by the garage door.

WOW!  It sure is a lot lighter in here!


New workbench base


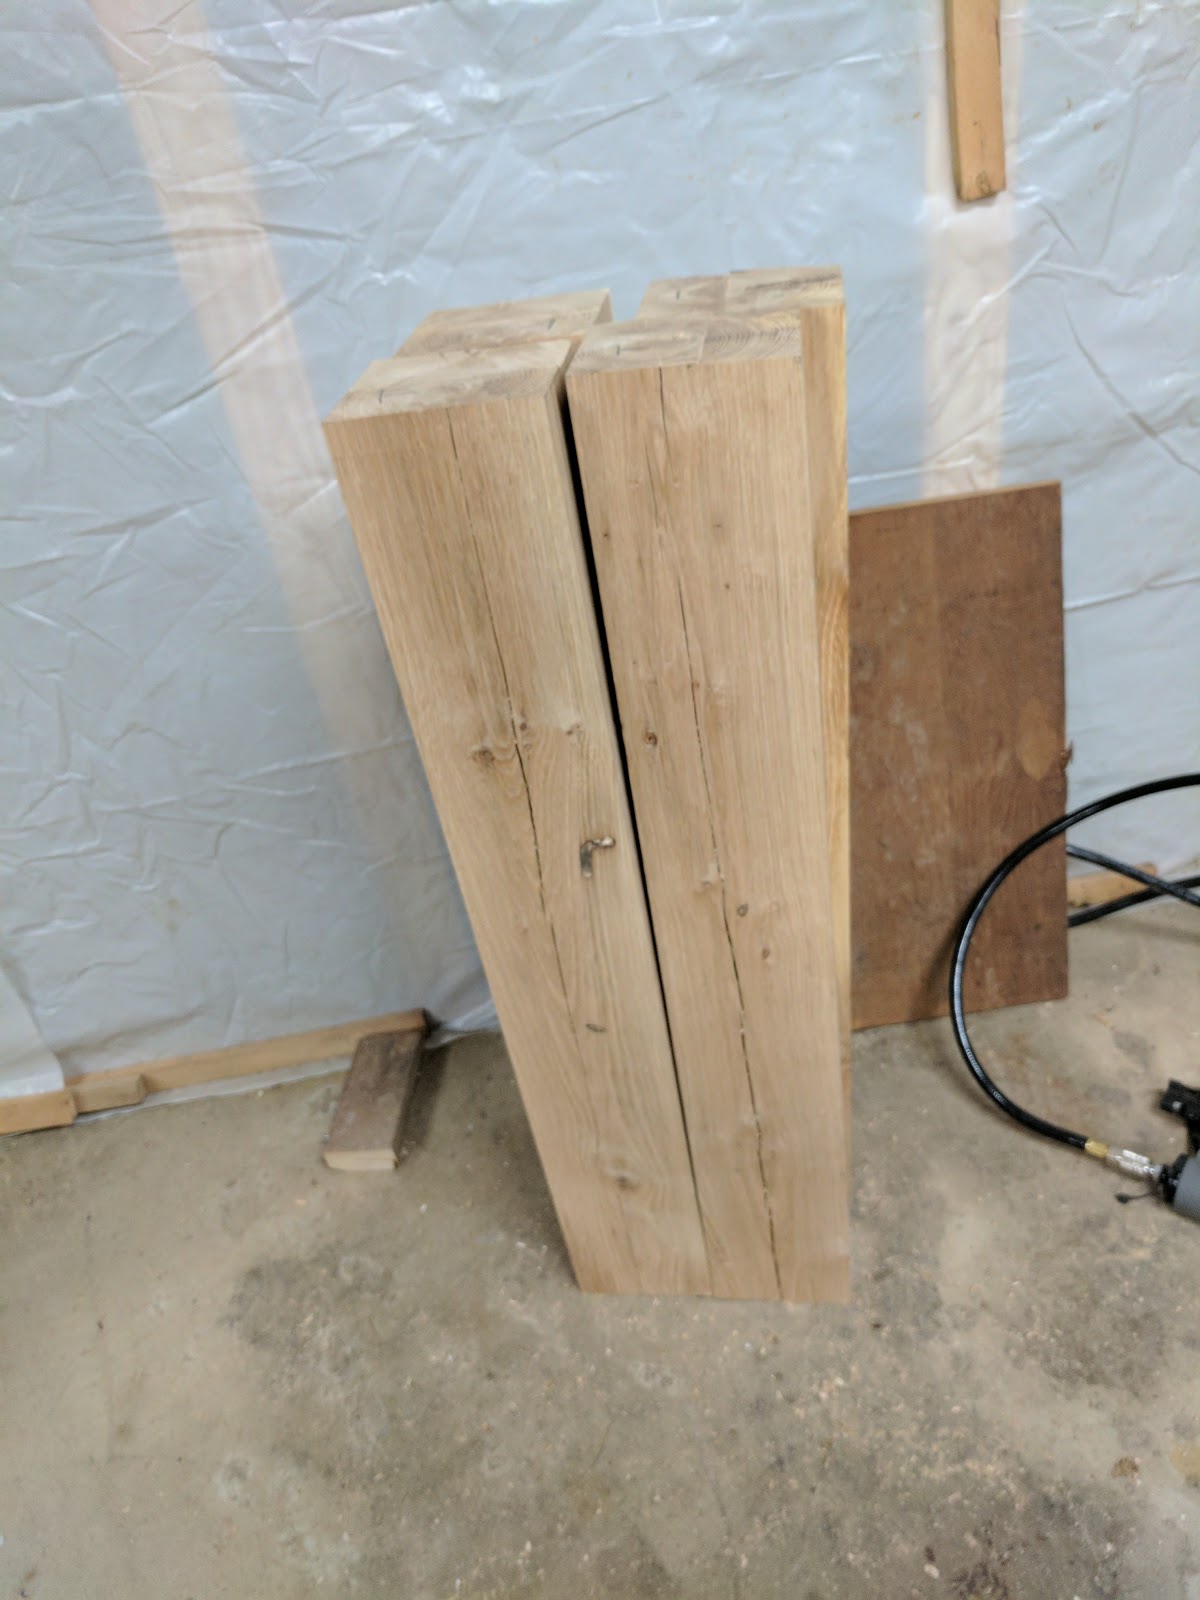
Since I have decided to build a new workbench base for my new work bench top, I had to find some suitable wood.  I went out to the sawmill barn and found some useful lumber.

Found a 17 ft 5x6 and a 17 ft 4x4.  Rough milled oak.

Its a bit curvey/warped, but I am using short lengths, on the order of 34" long.


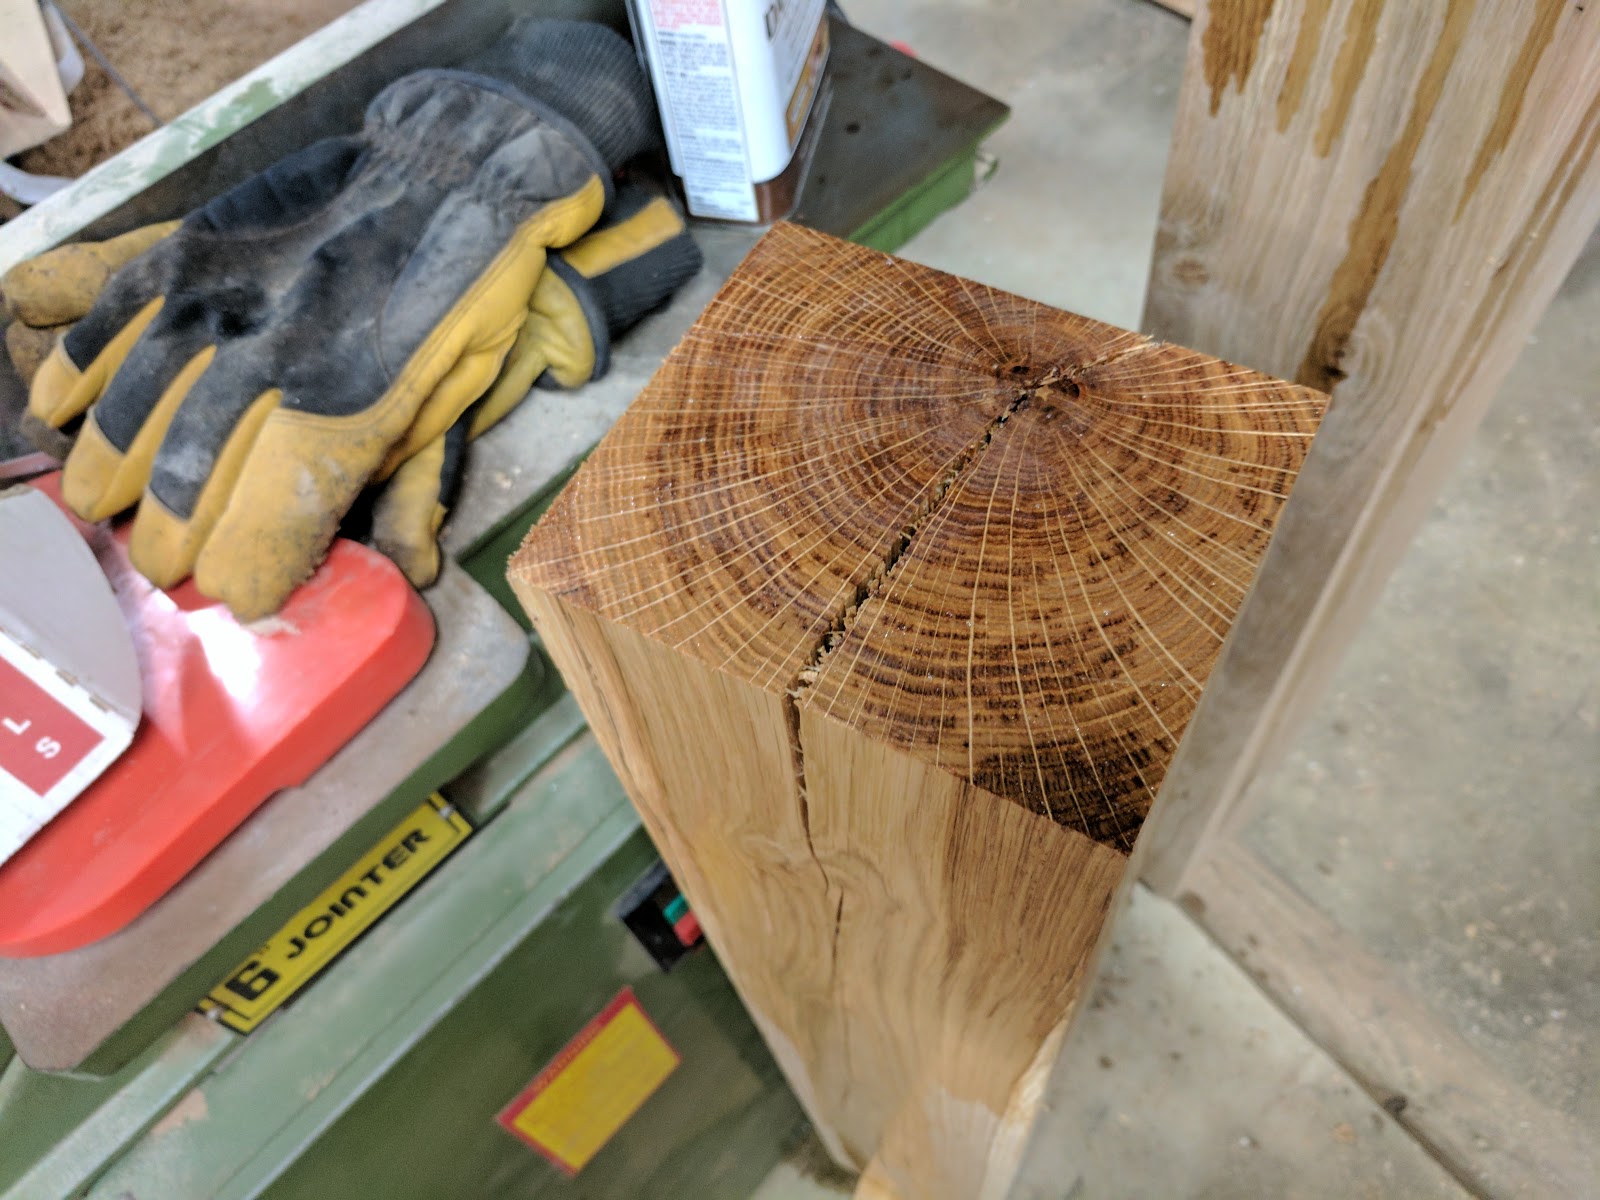
Quite a bit of checking at the ends, but I have long enough pieces that I can just cut this off.


Cut to length

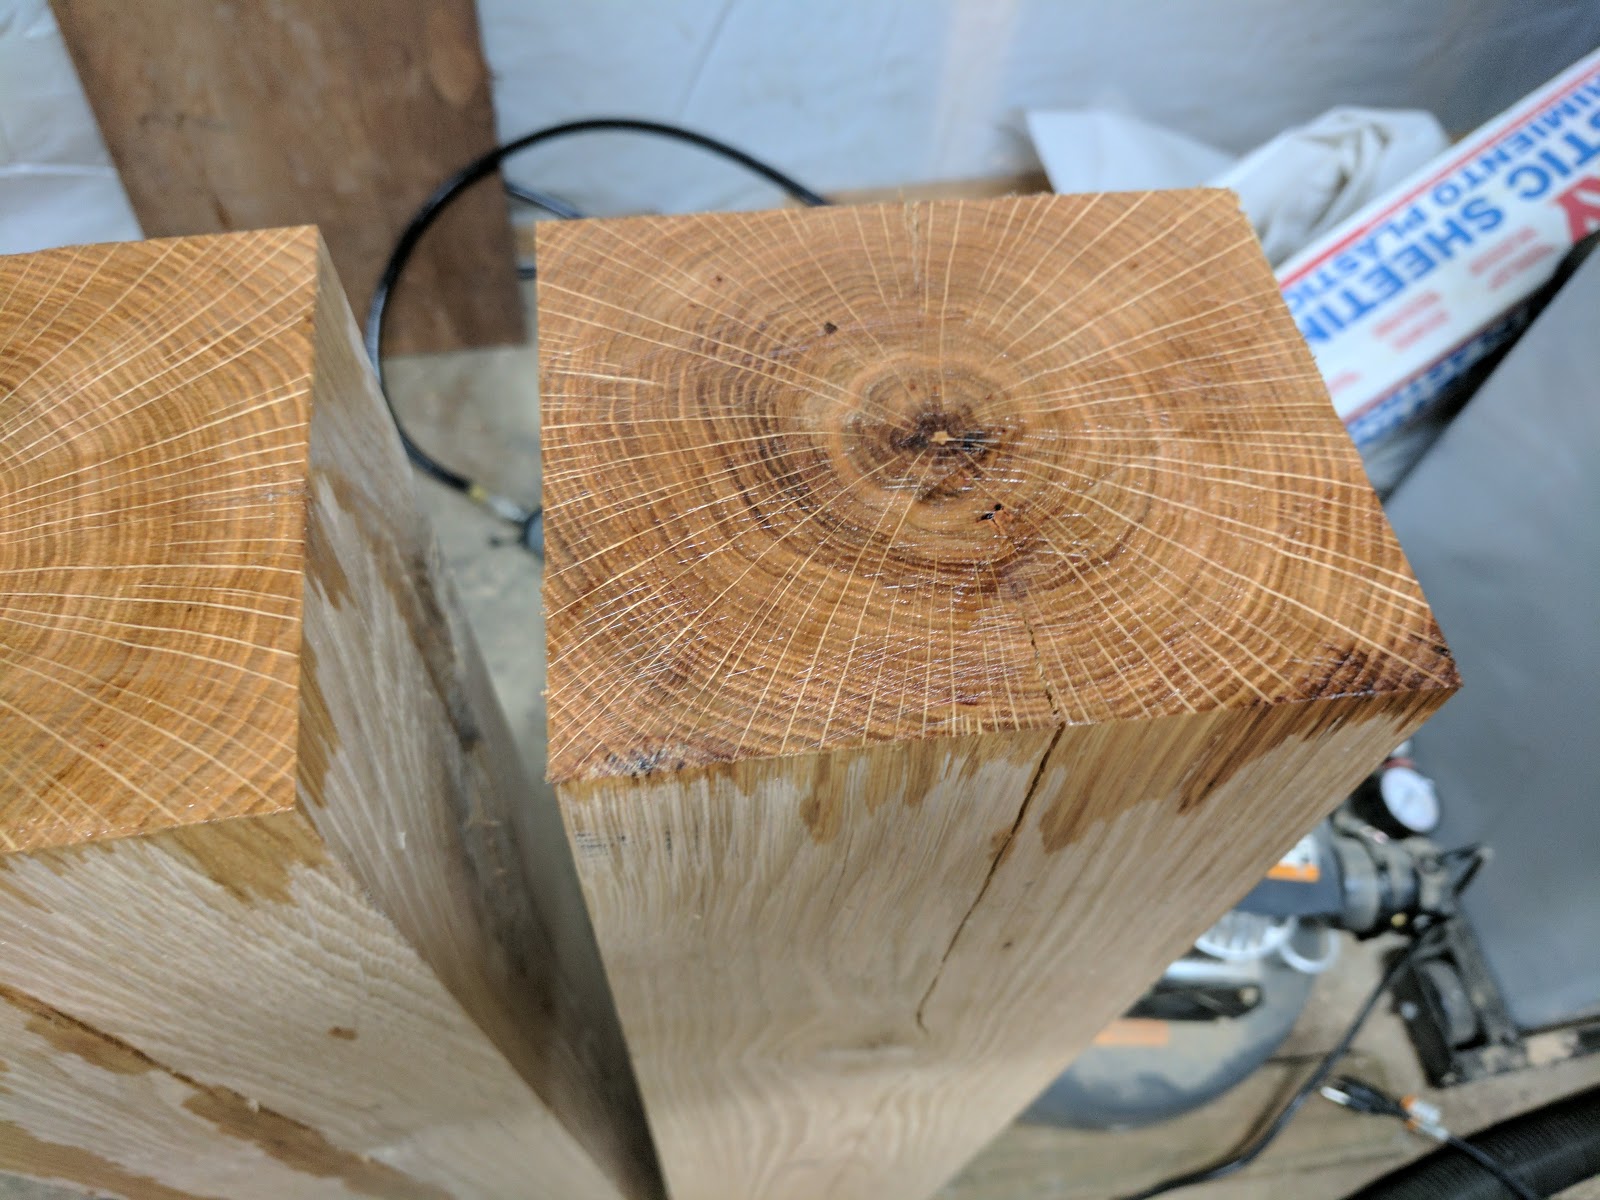
Jointed and planed to dimension (S4S)

I treated the bottom end of the legs with danish oil to protect them from absorbing water from the concrete floor they wil be sitting on.

More checking than I prefer, but it should be ok for legs.  The danish oil went into those cracks to hopefully that will stop and powderpost beetles.


I trimmed the bottoms off with the chop saw as best I could.   They seem to stand straight, so I guess its good enough.

Jointer knife replacement

Last fall I put a good size dent in the jointer knifes about halfway (centered) in the blade.  This makes it impossible to flatten anything wider than 4 inches (even 4 is pushing it really). I had purchased the replacement blades last year but simply never got around to installing them.  I knew it was going to be an affair! I used youtube a lot to get some help with this.  I even checked the tables for proper alignment while I was at it.  All in all it took almost 5 hours of fiddly work!  Ugh.  But I used it to mill the table legs above and it worked so nice!

For future reference, I removed the springs under the blades because it just makes life hard - they claim that those springs are to help when you are using a magnetic setting tool, but I don't see how that would help - that magnets would hold the blade in position.?  Then I used some of my metal working tools - an indicator and stand - to check the knife alignment and height.  It was loads of fiddly adjustments but its done!  I am seriously thinking of getting a shelix head for this jointer!


Aligned, sharp, and beautiful!

And while I was at it...  the planer!


After having put a couple pieces of end grain material (saw offs from the workbench glueups) and blowing up my planer I noticed that the planer produced these marks on the surface of the boards.  I tried eyeballing the cutter heads to look for damage, but I couldn't notice any.  So I simply put pieces of wood through the planer and backtracked where on the head the defective cutters must be to produce the defect.  I found them and rotated them (I even marked some! sigh - should have marked all of the ones that I rotated)   While reseating one of the inserts, it blew up!  It literally shattered and threw pieces everywhere!  I made sure to turn my head when reseating the rest of the inserts!  I got the planer to a point where I couldn't find any more large defects in the resulting boards.  Some advise rotating all of the cutters in a row when doing this.  I don't know how that helps and seems like you would be wasting a lot of use of the inserts.

They look ok.  But your really can't see the defects with the naked eye I guess.


Tree layout and planning


While I had already ordered many trees from coldstreamfarm.com, I still needed to complete my orer from the county conservation district.  Mostly I was waiting to see how much space my chokecherry and choke berry shrubs would take.  It finally stopped raining enough for me to get out and do some layout marking in the field on Saturday (?)  It was muddy work, but I got it done.  All the new hazelnuts, choke cherries and berries, cherry trees, and a good idea where the apple trees and apricots are going.  I think I have all of the trees planned out now - I figured I needed 16(!) sour cherry trees - 3 to replace the ones that died in front and 13 to plant near the barn lane - I will try to keep them "up" out of the wetter spots along there.  All in all I am ordering over $1,000 in trees and plants this year!! Its going to be a busy spring planting!

Sunday, March 6, 2016

Collet chuck done, new lights in shop and trying some TIG welding


ER32 Collet chuck done


The socket head bolts came in so I installed them and cut them to length.  The collets also came in this week so I chucked a couple in and gave the new chuck a spin!  Works great!  I much prefer the ER collets to the 5C's (and 5V's on the mill) that I have.  

New metric (M8-1.25x40) socket head bolts installed (and cut to fit lengthwise)

ER32 Collet in the chuck - fits nice!


Video of Chuck construction and running for first time!


Shop lights


I finally got around to putting up some of the LED shop lights that I have had for about a year now!  I dearly needed more light around the lathe and the mill!  Now I have it.


Wow!  Such a difference! I can SEE!

Its like a new shop!  Except now I can see how bad the walls look!

Also, now I can see how dusty everything is!


TIG welding!


I managed to stop by Roberts Oxygen in Frederick Maryland on the way up to the farm.   I got some E70S2 filler rod and a small tank of argon.  the filler rod I had ordered off ebay didn't get to me yet.  But I didn't feel bad about buying it at Roberts since I will always need more!


"consumables" that came with TIG.  3 different size collets, a collet closer, and 3 different diffuser cups - I think 4, 5 and 6

This is still setup with the plasma cutter - but the connections are very similar

Just a front shot of the combo unit

They don't get great reviews - but so far its done everything I need it for!  


Here is the TIG torch with a "red" tungsten tip in it.  I sharpened it myself on the grinder.

Its a "New Century" WP-26.  New Century is a Chinese brand and WP-26 is the size designation.  This is air cooled torch.  WP26 is a larger torch from what i have read.  But by no means the largest.  Size actually isn't necessarily a good thing - it makes it hard to reach into places!

See the "New Cent" logo?

Here is the cute lil argon cylinder connected up!  I had to get a hose clamp to connect it to the welding hose - the little clip they sent let it leak!

Notice that this flow meter is calibrated in L/min?  I didn't at first - I was assuming it was cfh!  I was blowing holes in my work!

Connected up and ready to go!  I wasn't sure how much Argon I would be using so I got this small unit.  I figure if I need more I can always trade up.  Small cylinder is easy to move around!
TIG welding requires very clean metal and close-in work so I set up this table in the shop.

I put a chair in the - it helps a lot!  but can't see the work that well - even with the halogen lights I set up nearby (you can see the glare from the lights in the picture)
The torch, in between tip sharpenings!  I went through about 1 inch of a tungsten electrode during the weekend.  I am not sure how much argon.  So far though, I am not alarmed at materials usage.
Some of my first tries at drawing a bead!  Yes, the metal was clean when i started!  

I tried left and right handed.  There is a surprising amount to keep track of when you are doing this!  Besides the settings for argon flow and amps there is the torch angle and filler rod feed rate and tip "extension" from the cup.

I got tired of cleaning metal so i just used some old bolts

Some of these beads aren't as bad as they look - I hammered on some afterwards to see if that black was scale of just dirty metal.

On the right there you can see that I actually welded these two bolts together.  The welds are surprisingly strong!

Bottom line:  I need MUCH more practice!  I am watching youtube videos like crazy and learning a lot.  However, nothing but practice will get the hand steadiness that I will need to get good welds.


More orchard care


I got out the pole-trimming tool and went to work on the orchard.  I did all of the high cuts and some of the low cuts on a few trees I didn't get to last time.  Actually, I didn't get to the peaches at all last time - and peaches take a lot of trimming!   I finally got to the spraying of the dormant oil and realized I needed to remove the plastic protectors to spray the trunks.  Worked out fine though as a way of marking which trees I had sprayed.  I would remove the protector just as I sprayed the tree. When I was done spraying the trees and grapevines I went back and gathered up all the protectors. The next day I sprayed the cherry trees and removed their protectors.  

I was in a rush of sorts to get this done since the weather report says we are going to have a warm week and the trees might take damage if I do this too late this year!


Septic field concerns


While looking for some papers earlier this week, I found the septic field layout that the original inspectors drew up for us when we bought the farm!   


The drawing shows some interesting things. 

I tried to layout some markers on the ground to get a better Idea which trees I would need to move.


See the little white "baton" in the upper left of this picture?  On the ground.  That's about where the distribution box is for the septic drain lines.


I spent a lot of time trying to figure out where the individual lines were  - I think that this is close to where one of them is. (the yellow measuring tape on the ground)


Overall, it looks like I really only need to move the lower 2 sweet cherry trees!  I will move them all - the lower two are the biggest anyway - the upper ones should be an easier move.  I am considering moving some of the sour cherry trees too - but from my understanding - sour cherry trees are all "dwarf" and maybe wont send roots so far...  I will do more thinking about this.