Monday, March 16, 2015

I think Spring is here!


Pruning and spraying the fruit trees


The snow is almost entirely gone and and I was able to get out and trim the fruit trees!  Whew!  I was getting worried that the snow would run right up against the spring, but we have a few weeks of cold yet I think.  I was able to attack the "big" orchard and trim the apple, pear, peach, and plum trees!  I took the big tree protectors off and discovered many hidden ailments.  Many had some kind of powdery fungus (I think) - either that or some bug webs of some kind.  I trimmed the trees as best I could according to the articles that I read.  Apples and Pears get central leader treatment (and headed off), while the peaches get their central leaders removed (and headed off).   After I got all the trimming done I hit them all with a good dose of dormant oil.  I am hopeful that that will finish off any fungus, mildew, bugs, or whatever was attacking my trees!  Oh, and i dormant oiled the grapevines too.  Looking over that orchard, I think I will need to get even more deer pops and deer bait!

Sorry, but no pictures of the trees - they just look like sticks in the ground right now anyway!


Lathe finally moved off of the pallet!


I had the crane legs positioned a couple weeks ago, but then the snow... anyway, I found some nice 10ft + oak 2x8's and hefted a couple of them on top of the crane legs!  Not an easy job, but i got it done.  Just needed 2 - those things are strong.  Then i chained up the hoist and lifted the lathe off its pallet.   I unbolted it and then slid the pallet out from under the lathe.   Whew.  Was a mighty endeavor!

Here are some pics


Those 2x8's didn't even creak or bend at all when they came under load!

I hope thats was an OK place to attach the chains!


Ta-da!

close up of how little room I had to work with 


Right up against the edge here too!  Amazing that it was this close and that I didn't measure any of this stuff for fitting it in!

Next step is to get some electrical work done!  I need some light circuits and a heavy circuit or two for the woodworking and metal working equipment.   Anyway, the shop is starting to look less junky and more like a shop!


Canning shelf work


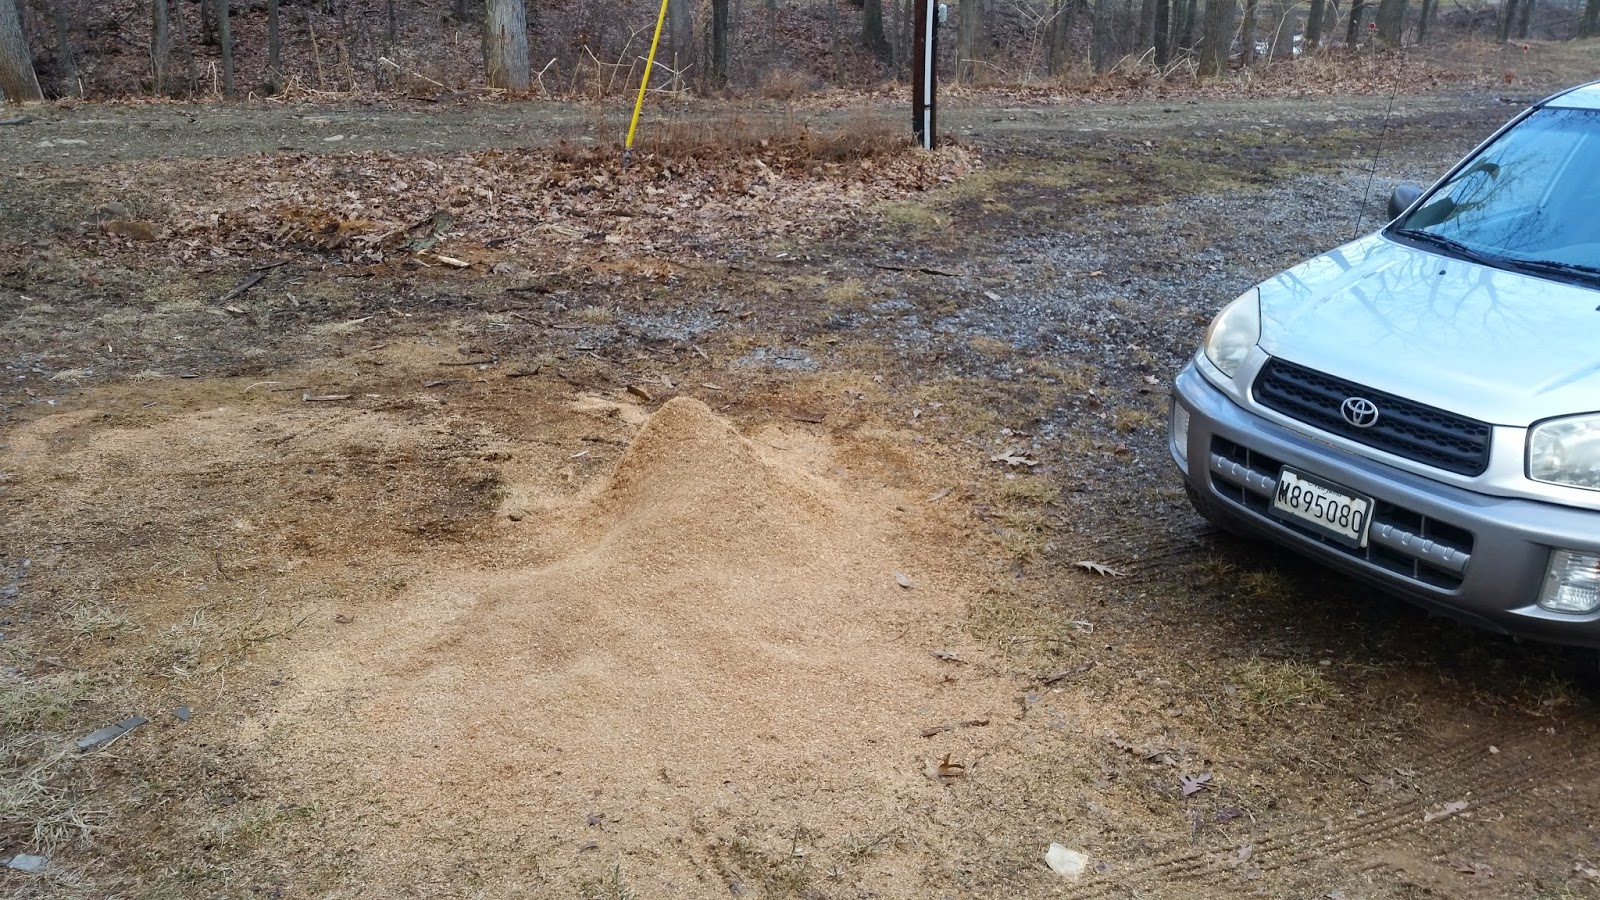
Well, the ground was not covered with snow, so i decided to plane some more oak boards for the shelves to my oak caning shelf.  I did up a bunch of the leftover boards from the woodshed.  I also noticed that I have a few boards in the shop under the workbench.  I might need those for the chop-saw station though...  No picture of the shelves yet, but i got a few of the huge pile of saw dust left from planing!


Locust trees and the search for grape arbor posts


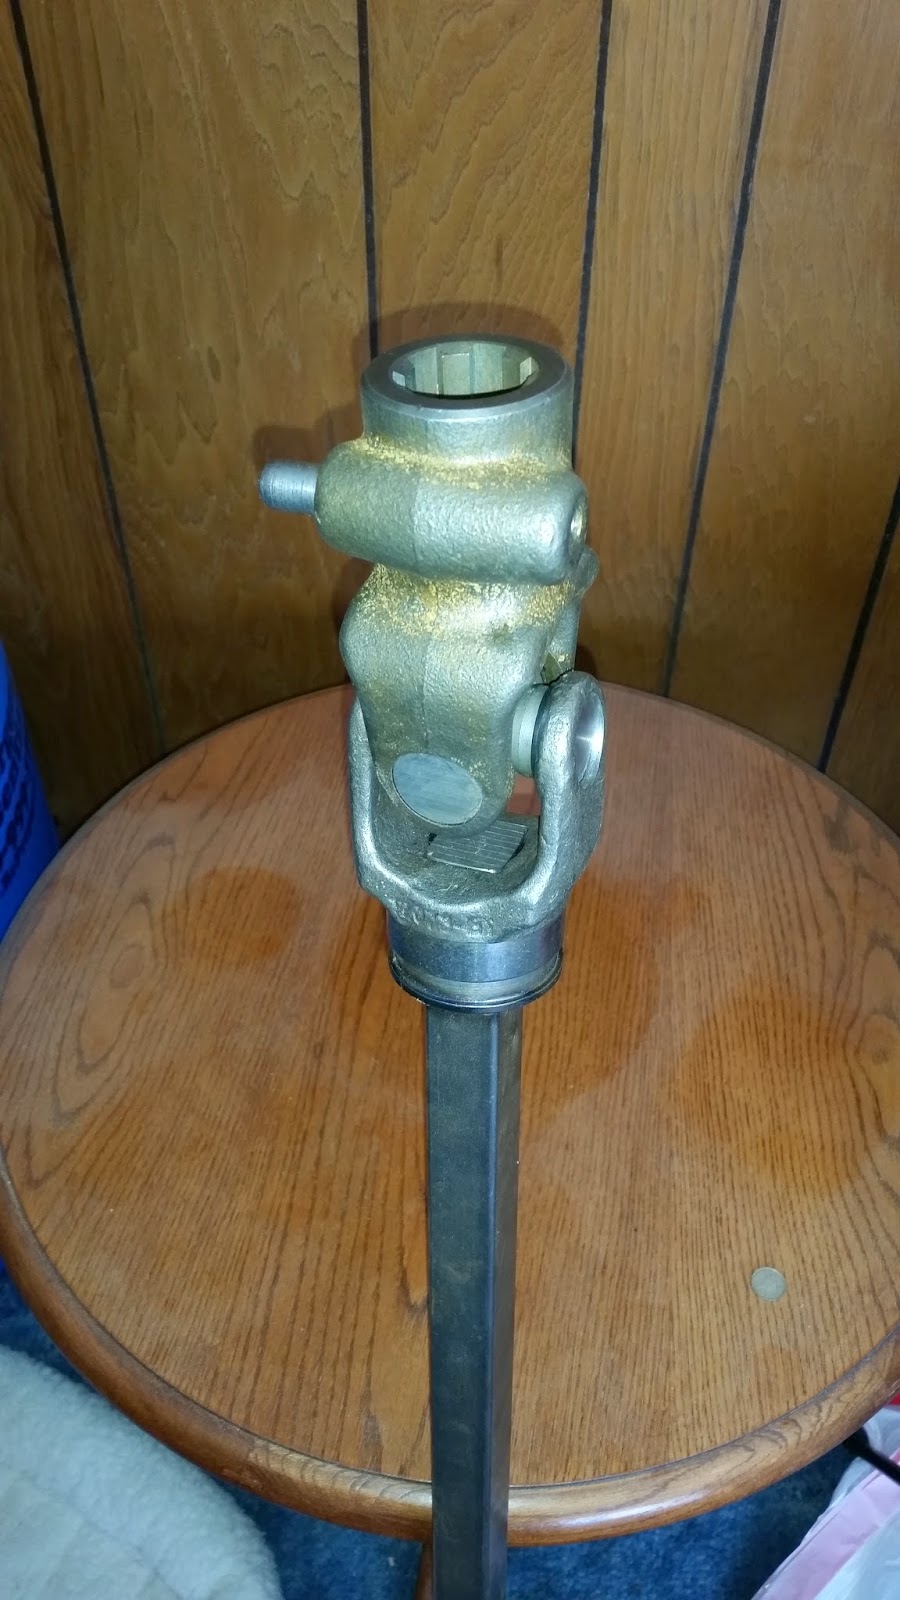
I dared to take the tractor up to the upper edge of the field and clear out some fallen trees.  While I was up there I decided to take a couple of the locust trees down that where kind of in the way of where I want to plant my walnut trees.  Since I need the locust posts anyway, it was a good thing.  My chainsaw is still dull as crap, but I managed to get 2 decent size posts - and one small one.  I think I can count on 3 posts total from that work.  Was a mess to clean up in that mud!  The tractor was really making a mess!  I hope it doesn't damage the field too badly.  The ruts should back fall in I think long before they make hay there this year (if they are planning too).

Sunday, March 1, 2015

Shop work, PTO repair and finally starting to trim the fruit trees


Shop work


I finally finished moving all of the firewood from the shop to the woodshed!  This enabled me to clean up the shop and start moving the equipment to where I want it.  I still need to wire the shop for the heavy equipment and the new LED shop lights.  I will need to put in some conduit to supply the machines so moving the machines to there final locations was an important step.

All of the firewood is in the woodshed now - plenty of room for more!


Here are some pictures of the shop, sans firewood!

The wall where the firewood used to be


Still alot of cleanup left to-do.  Those maple boards must be moved out!


The lathe, repositioned and with the crane legs ready!


The lathe before re-positioning!


The PTO 


I brought the arbor press up so that I could try to put the universal joint on the PTO together.  I bought all of the parts I needed on a trip to TSC earlier this month.

I had to clamp the arbor press to the table of the milling machine and then use a cheater-bar to get the leverage i needed to press the pieces together sufficiently.  Whew.  I secured the clips on the press pieces for the universal joint and re-installed everything on the auger.  I even ran the auger to make sure it worked right (after lube, of course).  Here are some pics:

The one good thing about having this break was that I got to replace the PTO shaft fitting with this new one that presses in instead of the old one that required me to use pliers to pull it out!


Fruit tree trimming


I finally got to start trimming the cherry trees.  The cherry trees were in pretty rough shape due to disease last year.  I followed the trimming and training guidelines and was left with mostly sticks!  I took the long tube protectors off and put the spiral removable protectors on.  I took the old trimmings and dumped them far from the fruit trees so any diseases wouldn't be spread.  I also sprayed the sticks with dormant oil.  Hopefully this will let the cherry trees get a good start over the diseases they had last year.


Friday, February 20, 2015

Filling up the canning shelves

Katherine has been busy loading up the new canning shelves here in the city place.   She has organized the canned goods by year.   2013 on the old shelves and 2014 on the new shelves.

The 2013 goods, above.
The 2014 goods are on the new shelves. 

Tuesday, February 17, 2015

Things I learned when building my woodshed (TLBW?)


Here are some observations to take note of if building another such structure:

  1. Use square posts, if possible.
  2. If using non-square posts, try to make sure they are at least straight as possible.
  3. When checking the layout of the posts, check their tops AND bottoms!  The bottoms my be square but the tops may be out!  Of course, this isn't as much a problem if you have straight posts (see #2)!

    BTW: I DID align/check-for-perpendicular the posts used in the woodshed, but the posts where not straight and therefore, after I cut the tops off my posts to obtain the roof slope I wanted, the new "tops" where no longer directly above the posts bottoms! 
  4. Put the "girts" on the upper and lower roof portions before placing rafters.  I simply placed the rafters between the upper and lower roof posts first and then "filled in".  This caused the rafters to be non-parallel which eventually led to the roof being very hard to put on straight!

Sunday, February 15, 2015

Woodshed is now "fully operational "!

Woodshed


It was cold going,  but I got the third side to the woodshed up!   Now I am thinking of fully enclosing it,  lol!  But,  enclosing it doesn't need to happen before I can use it for wood! 

It looks pretty good in my opinion - especially considering the quick and dirty construction!  The only things I bought were the roofing and the fasteners.  The wood was either fresh milled or reclaimed from inside the old barn.
I am strongly tempted to close the front left bay and put some kind of door on the right side.   Or maybe a door on each side?  In either case, I need to mill more boards!
I am also thinking of putting down some drainage tile in the ditch in front of the shed and covering the tile with blue-stone to at lease the level of lower floor joists.  That way I don't have to worry about snakes and things under the shed biting me when I enter or leave the shed!
 
I didn't quite get all of the wood moved from the shop, but another day should have that done.  I had to leave the farm earlier than I wanted because of an impending snowstorm.  I hope there isn't too much snow left next weekend that I can't get the remaining wood moved!

Not much left to go - but that stuff is hard to get to!  You can kinda see the effects of the collapse on the left there...


Leaves me some good room for shelving and maybe a chop saw station?

Lots of cleaning yet to do, but this is a huge start!


 Auger PTO parts


I damaged my auger a couple weekends ago by not paying attention to what I was doing while using the front forks to move some old rotted wood out of the way of my trail between the garage and the barn.  Lots of hill is in that trail and the auger bottomed out and did not do so well against the frozen ground.  


You can see that the universal joint is broken here and that the yoke is bent out of shape.

There is a square female portion of the PTO drive to the auger under that dirt.


The pieces of the universal are attached to the shaft. 

I went to tractor supply company (TSC) and I think I found the parts I need.  They are close matches anyway.  I should check to make sure that the square shaft fits into the auger drive before I do anything with the universal repair.  The universal repair requires a arbor press which I need to take up to the farm next time.

Sunday, February 8, 2015

Another "all woodshed" weekend

Woodshed progress


I am getting as tired working on this thing as anyone who is reading this is tired of reading this, I bet!

Well, here are some pictures of this past weekends progress:

2 of 3 walls are now up!

I even have the corner "trimmed"

The back wall from the outside. also showing the roof extensions

A better view of the roof extensions.  Added about a foot to the overhang.  I am thinking of building a soffit for extra support and stiffening.

Another view of the inside corner.
Its near done now.  I need to put some roof extensions on the top, but they wont be as hard as the lower extensions (I hope).  The top roof extensions overlap the top of the sheet metal that is already there.  The bottom extensions went underneath the existing sheet metal.

I am considering putting doors on this thing now.  Maybe not right away though.  I need to get the firewood moved and need to get moving on the tree training and trimming (before Spring gets rolling!)

Sunday, February 1, 2015

Bad weather weekend.


Canning Shelf complete?


I stayed at the city house this weekend because weather reports indicated that I may not be able to get in and out of the farm house safely. I am pretty sure I could have,  in retrospect.  Oh well.
This gave me a chance to paint the canning shelves here.   Painting does take a lot of time. 

Safe and sound in its corner.  I still need to add and position the actual shelves.
Slightly different angle.
More shelves in the process of being painted.

I didn't have enough paint to finish painting the last shelf that I had (I had 5 shelves - but I can add more to the unit).   I will go get some paint later.  I am somewhat concerned that the plywood shelves may not be strong enough not to bend under load.  I don't want a shelving collapse with all of my canned goods destroyed!  I may reinforce the plywood by screwing on some angle-iron channel along the sides of each shelf.