gardening, self-sufficiency, homesteading, food preserves diary
Blog documenting progress in transforming new property (50 acres - mostly wooded) into garden-farmette . Trying to become more self-sufficient and more self-aware.
Sunday, February 21, 2016
Threading drive gear becomes unpinned and first knurling!
Unpinned
After I cleaned up most of the cast iron debris from fitting the new 4-jaw chuck, I decided to see what was up with most of the feed gears failing. After sliding the phone video camera into position under the quick change gear assembly and watching what was going on I figured out that a gear that shouldn't spin was spinning!
The inside of this gear is supposed to be pinned to the gear next to it. Those holes are supposed to have pins in them! This is just one of 3 of this type gear that I got off ebay to repair my quick-change gear box (needed for threading and powerfeed). Also, note how out of round the bushing is? This is partially due to it not being properly centered when I bored it, but it is also partially due to the fact that the shaft that this sits on is badly worn! I am going to replace that one shaft...
While it was heartbreaking to take apart the quick-change gear box again, there was no way around it. After removing the gearbox and disassembling it, I was able to remove the gear that failed.
The video shows the unpinned gear failure.
Re-pinning the gears
I was able to remove 2 of the gears that I got off ebay - the ones with the missing pins. The third is stuck on the drive shaft due to a stuck hex screw. I could drill out the screw, but then I would have to re-drill, and re-thread the shaft hub as well as find a hexhead screw to fit. Being Sunday, there is no way I would have this done this weekend. Furthermore, only one gear failed - I was able to remove the failed gear. So I left the one gear in place and focused on pinning the other 2. Even though only one gear failed, I figured while I had it out I might as well pin them both!
The one on the far left - next to the hub is the gear I cant remove - that hub is on there until I drill out the stuck hexhead screw.
Making the pins! Not having a lot of stock laying around, I decided to use an old burned and bent carriage bolt as the source for my pins!
Notice that I have the 3-jaw chuck on there now? I wanted to use the 4-jaw chuck, but the 4-jaw chuck doesn't close enough to grab this bolt!
Cut down to almost the size I need.
I got a couple of pins out of this one. I machined the bolt down to pin size a couple of times to get enough pins.
Just to keep things in perspective - the pin diameter is just under 1/8".
First pin in!
I simply used a hammer to seat the pins tightly (I drilled out the pin holes)
One down
Both done now. Now to cut them off flush with the surface
Cut and filed flush. Ready to install
Installed and ready to go - well - almost - I have to put the gear selectors on there yet!
The above video shows most of the gear assembly put back together and demonstrates how its supposed to work!
This video shows the gear assembly with the gear selectors in place and operating.
First Knurling!
I finally got everything cleaned up again and decided to actually use the lathe for something! I scanned around and saw that the side cover plate over the lathes backgears was attached with a hodge-podge of bolts, nuts and even one knurled nut. I decided that I like the knurled nut approach the best since that side panel would have to be accessible to put the lathe into backgear drive mode (at least for now - I am thinking of making something to help with that issue!).
Here is the one knurled nut that is used to attach the cover - the other attachments are with bolts or plain hex-nuts.
Hard to get a non-blurry picture of this thing!
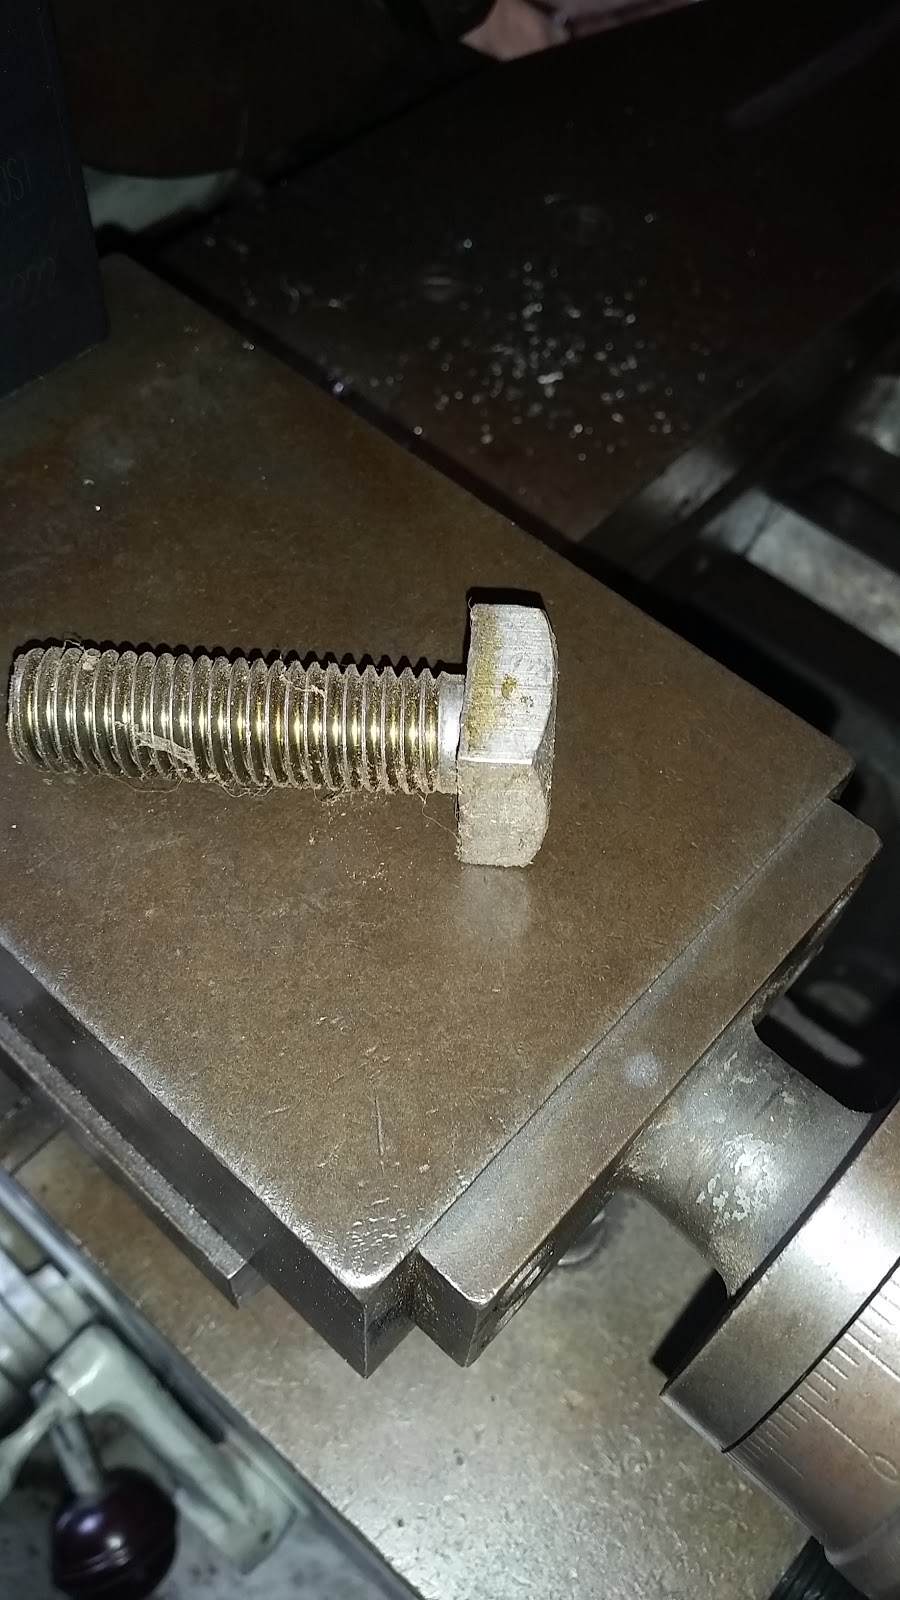
So I needed to find some stock that I could make this thing out of! I looked around the shop and found a box of these old tractor bolts - left over from previous owner. The tractor or implement that these fit is long gone I figure. I have used these for this type of things a lot lately! Anyway, I grabbed a bolt and started in!
These bolts machine quite nicely! I used one to make my bushing remover for the threading gears already.
OK, I should have taken more pictures throughout this process!
The bolt head was turned down to round and faced off. Then the shaft was cleaned of its threads and finally I used my knurling tool to knurl the head! Oh, and I drilled and tapped the threads - its a 1/4"-16 tpi.
The most difficult part was actually the tapping! I started tapping it in place as shown in the above pictures, but I wasn't sure the tapping chips weren't bunching up in the blind hole, so I tapped only about half way in and then cut the nut off the bolt shaft. Then I put the knurled end into the 3-jaw chuck and CAREFULLY tapped the rest of the way through. Even though I was careful I did get some marring on the knurled surface, but not too bad. I am seriously considering get a collet chuck for this lathe! An ER32 collet chuck is available on ebay and all I would have to do is machine up another back plate for it (and buy the collets of course). ER32 collets aren't expensive and are quite popular right now, so lots of accessories if I should need them (wrenches, collet caps, etc). [OK - I just ordered the ER32 chuck and backplate! and a set of ER32 collets!]
Burs all filed off and clean!
The other side. Could have cleaned the inside up a little more - but this is ok.
This stud used to have a plain hex-nut on it
Now it has a nice new knurled nut!
I think I like it better than the original! You can see the knurling "chattered" or double-struck a bit in that center section. This is due to the fact that I did'nt have the knurling tool centered on the axis of the turning piece when i started. I noticed it quickly and fixed it.
I am very happy with this! The knurling went surprisingly smooth. I did have a misalignment issue at first, but I corrected. Also, notice that I didn't push the full depth - this is fine as it is! I think I will make some more!


No comments:
Post a Comment