First, the Engine Lathe
Well, my attempts at figuring out the wiring without getting into the motor wiring was in vain. I tried to check the continuity through the wiring through the switch, but I just got more confused since some of the connections could have been made in the switch itself! While looking around for the ground wire to the frame I stumbled across the previous power hook up! I connected the wires up to the 220V line and turned it on. It ran - for a little while. Then the breaker popped. At this point I had a suspicion that the motor was previously wired for 110V, since the circuit was 30A and at 220V the motor rating was only 15A. The only way to confirm this was to open up the motor wiring box - NOT EASY! This box was facing BACKWARD in the metal cabinet and was very close quarters. I wrangled into it as best I could and was able to confirm that the motors was indeed wired for 110V. I switched the wiring according to the diagram on the front of the motor so that it would accept 220V and tried again. IT WORKED! Forward and reverse and no circuits popping and no humming. YAY!!
 |
| See those numbers on some of the wires? Those are important! LOL |
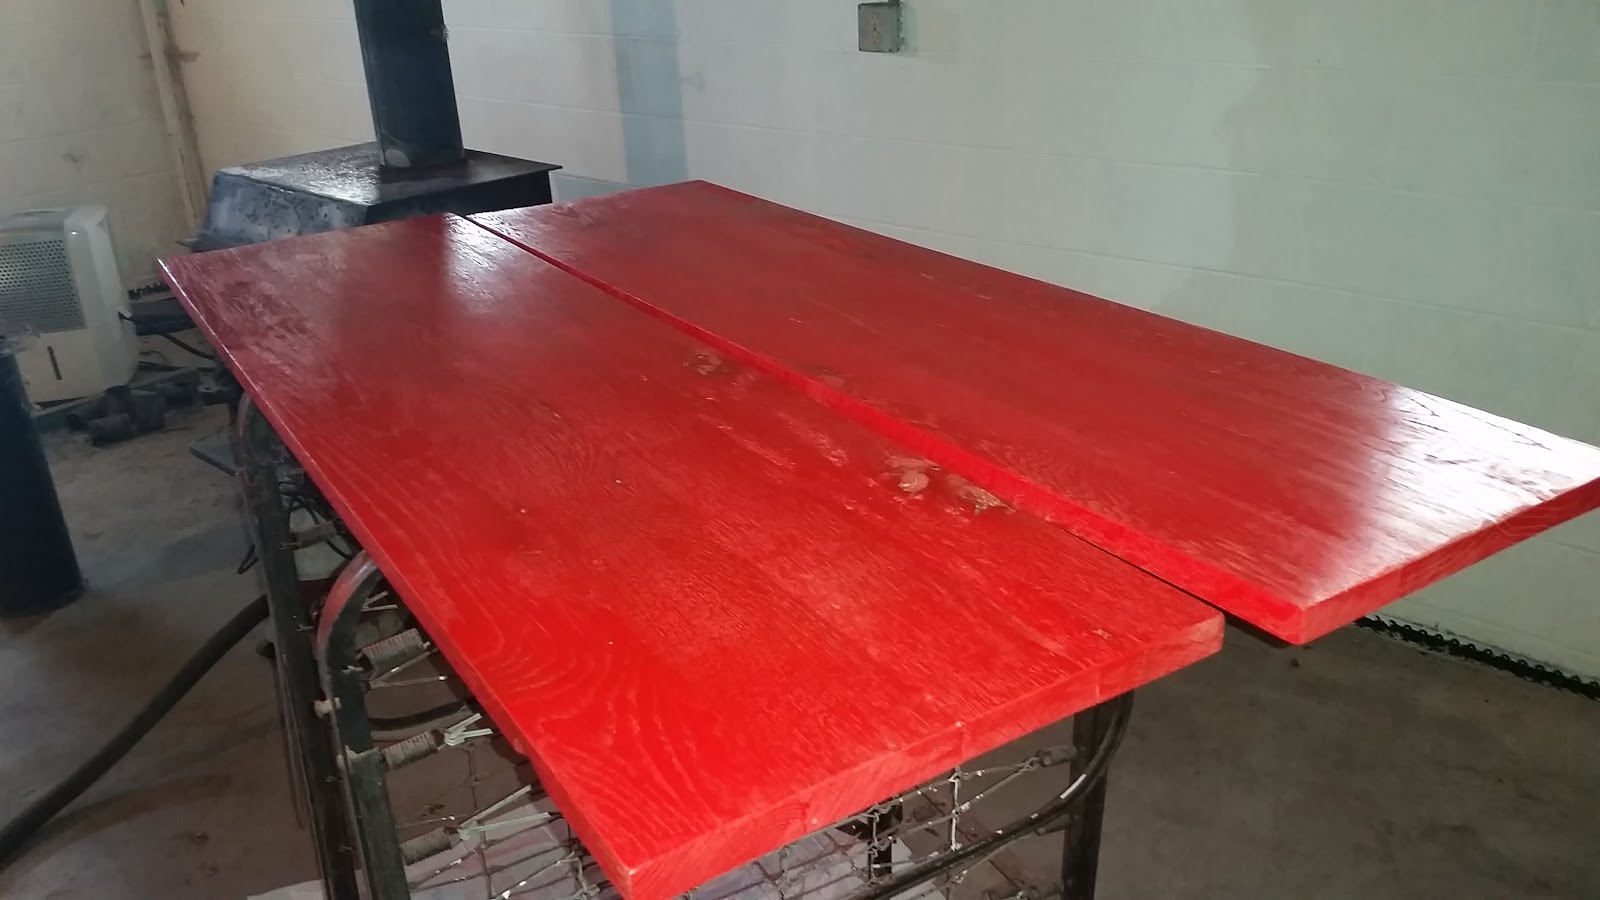
After getting the lathe cleaned up a bit and lubricated (a little - I still need to go over it more carefully) I started machining the faceplates for the sawmill-lathe-attachment. This went real smoothly, despite the fact that I haven't used a metal lathe in years. I only had two bits to use and they were both the same type. Fortunately they were useful for the cutting I had to do.
 |
| These steel pulleys took very little time to machine. I just cut of one side of the v-belt channel and a suitable faceplate is obtained! |
Lotos Welder Rediscovery
I needed to weld a steel pulley hub to a 12 inch pulley, so I got out the Lotos welder and gave it a shot. After messing around a while I got a weld that seems ok. I definitely need to practice more with the stick welder!
While looking around the shop I noticed I had a kit for a welding cart that I never put together. So I put the cart together and went through some more welding stuff that I had on the shelf. This Lotos unit, the UitLTPDC2000, is pretty cool. It is a 3-in-1 unit that can do stick welding, TIG welding and plasma cutting! I couldn't find any manuals for my unit but I searched online and found a manual for a later unit that was similar. I got the plasma cutter setup together and hooked up the pancake compressor for the compressed air supply (it needs 65-70psi - fortunately the pancake compressor has a regulator). I gave it a shot and was pleasantly surprised! It cuts well - up to about 3/8 inch thick! Not bad for a small unit.
The TIG welding test will have to wait until I get a tank of argon. It looks fascinating though.
 |
| The pulley and hub welded together. Not beautiful, but its strong enough. |
Sawmill-lathe-attachment - FINISHED!
I finally finished the back-stock for the lathe attachment and painted everything (I had to switch to black paint because the local hardware store didn't have anymore grey). NOTE to self: painting indoors in the winter sucks. Also, painting takes a long time. Then I put all the stuff together, and gave the motor a try.
 |
| First run! It runs nice! I was afraid that the pulleys would bind and create so much friction that the motor would lock. Nope. Runs nice! |
 |
| I do need to put on another hub to keep the pulleys aligned. |
 |
| On the sawmill-bed, finally! |
 |
| Whew - the blade clearance over the unit is just about a half-inch! |
 |
| Oops! The boards don't allow for shorter lengths of lumber! Here, just for the first test, I over lapped the base boards to get the shorter length. This will lead to a somewhat conical cut. |
 |
| Also, the first cuts that remove the bulk of the wood are important! If you don't do this the wood will deflect the blade and you get these uneven cuts. |
 |
Also, critical that this is CLAMPED down quite well! It broke free a couple times because I used these friction clamps. Use the screw type clamps only !
|
Also, a major lesson learned is that the faceplate attachment idea is not satisfactory. The faceplates "fight". If the faceplates are not perfectly in line with the direction of rotation they vibrate and cause significant problems. I will have to figure out how to implement head and tail stock spurs like on wood lathes.
I am so glad I did not buy the lathe-mizer attachment at this point simply due to the observance that most of the added value seems to be mostly inherent in the rotate the log to make lengthwise cuts more easily - the "lathe" functionality is extremely limited due to the nature of the bandsaw. To make a cylinder you have to make extremely light cuts. EXTREMELY light cuts! The bandsaw blade deflects very easily. $4,000+ is a bit much for an indexable post turner!
NOTE TO SELF: consider using the bandsaw to make the "octagon" and then make a router rail system so that real lathe like work can be done. A router would also be able to make heavier cuts than the bandsaw blade!
Backhoe Issues
I had great hope of getting the backhoe running this weekend. Indeed, I did get it to run for a few seconds, but it just would not continue running. So i continued to charge it. And charge it. Even more. Still no go. So on the warmest day, when it would not start i decided that the contacts on the battery terminals must be too dirty or corroded. So I cleaned them. As I was cleaning them it occurred to me to check the fluid level in te battery. It was DRY! So I added water - a bit more that one gallon of distilled water was added! Then i put on the big charger and set it at 2 amp slow charge. Then later in the evening I switched to the trickle charger. When I looked at it the next day, the fluid in the battery was fizzing and bubbling. Still not up to power. I will have to charge it more when I go up next time. Unfortunately I am afraid that I wont see any more warm days this winter. I just hope the battery can be recovered! Replacing this battery (2 batteries actually) will not be cheap!