More 3D printing fun!
I decided to get some more colors and some different types of filament for my 3D printer projects.
 |
| Blue and red PLA, some "natural" nylon and some black PETG |
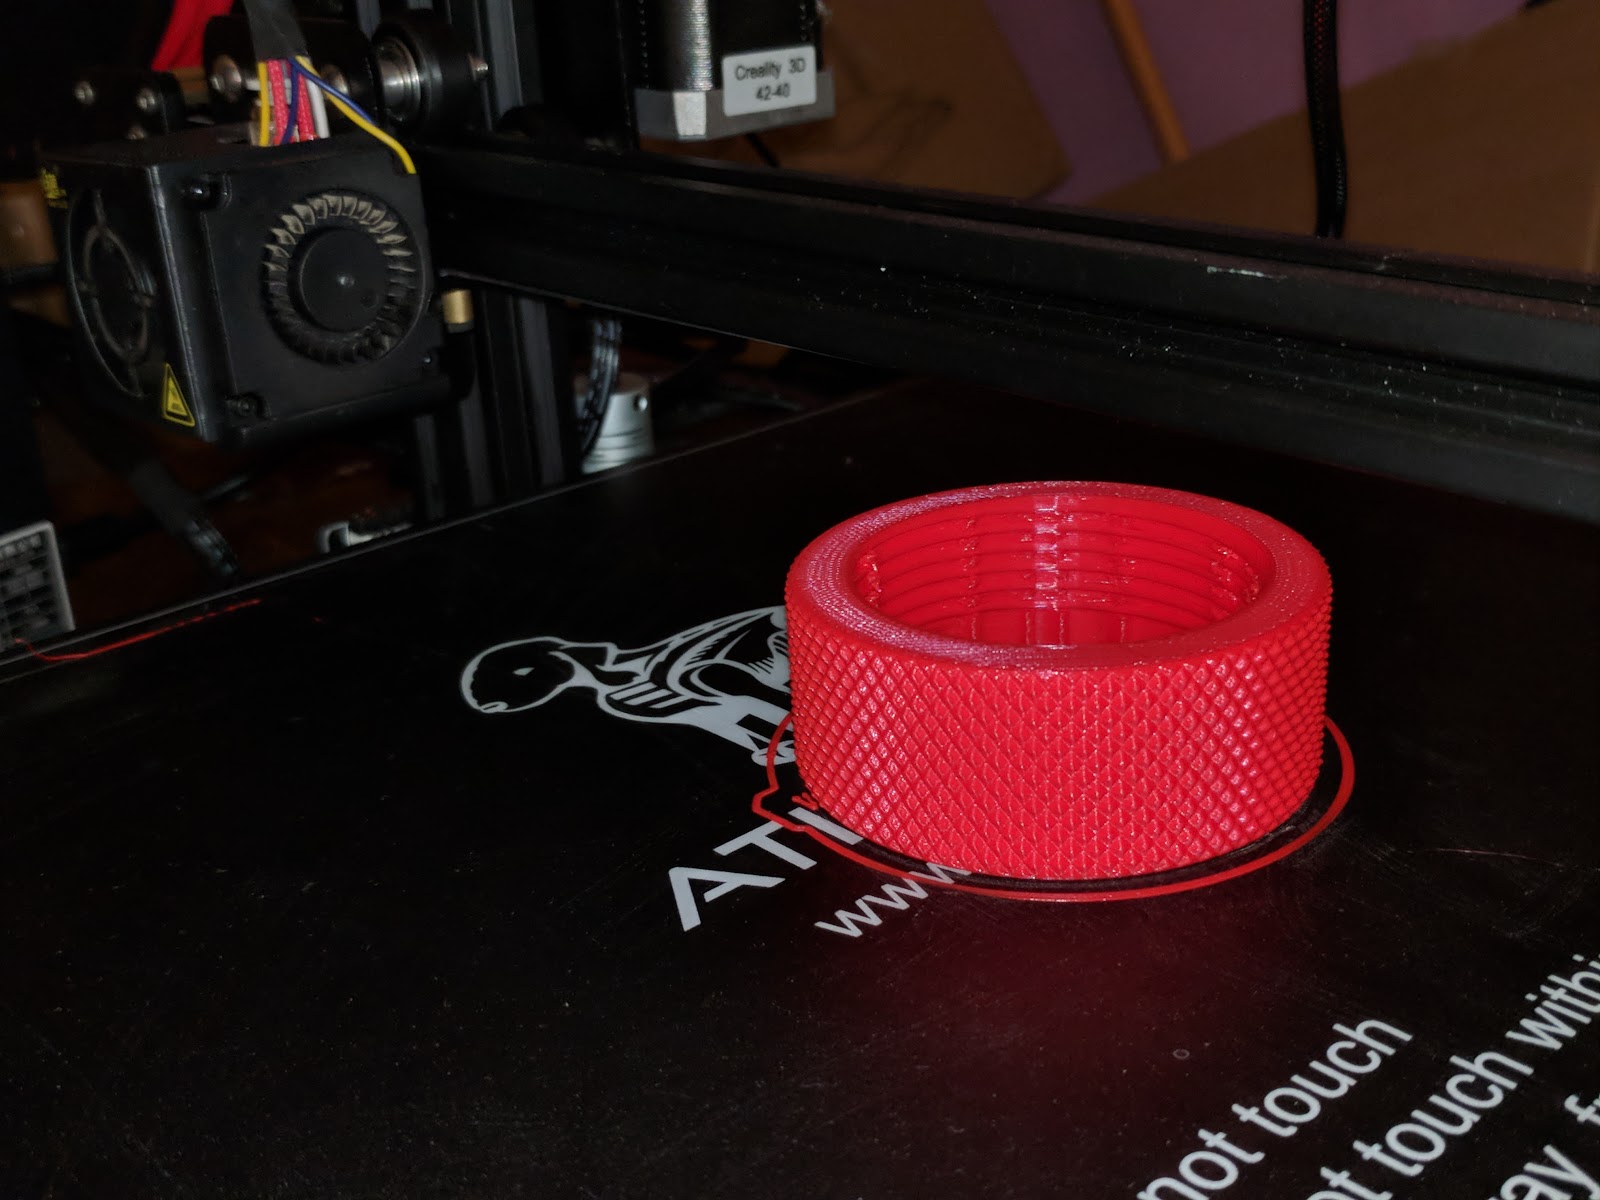
Again, I found a good and useful part by watching my hero, Mr. Pete, on youTube! A lathe spindle thread protector! I attempted to make one of these as a skill building exercise almost 2 years ago now, but I screwed up the inside thread and never got back to the project. I really don't need one since I don't use the collets that go in the spindle. I made a ER-32 collet holder that sits on the spindle threads, so I don't need to protect them when using the ER-32! Nonetheless, I wanted to make one of these spindle protectors on my 3D printer. I found the reference on thingiverse, but the author of the part didn't include the CAD/CAM files so I couldn't use his design as a basis for my thread-protector. I did find his references though and with some fussing about I was able to use openSCAD to develop my own design for a thread protector that should fit my lathe!
 |
| This is a prototype thread-protector that I made with the white PLA filament that came with my printer. |
 |
| I got the dimensions off of the Logan lathe web-site (www.lathe.com) |
 |
| I test fitted it on the lathe this past weekend - it's a damned TIGHT fit |
 |
| But it does fit. |
 |
| I plan to adjust the inside threaded diameter to be a smidge larger. And not print it in white. Ugh. |
I already posted my files to
thingiverse, so I will have to update those so people don't use this version and get it stuck on their lathe!
Fun stuff!
OK, was talking to a friend at work and he showed me some of the stuff he had printed. This piece in particular caught my eye, so I printed my own copy! Its so fun!
 |
| Nautilus gears that move! All 3D printed (not in place though) |
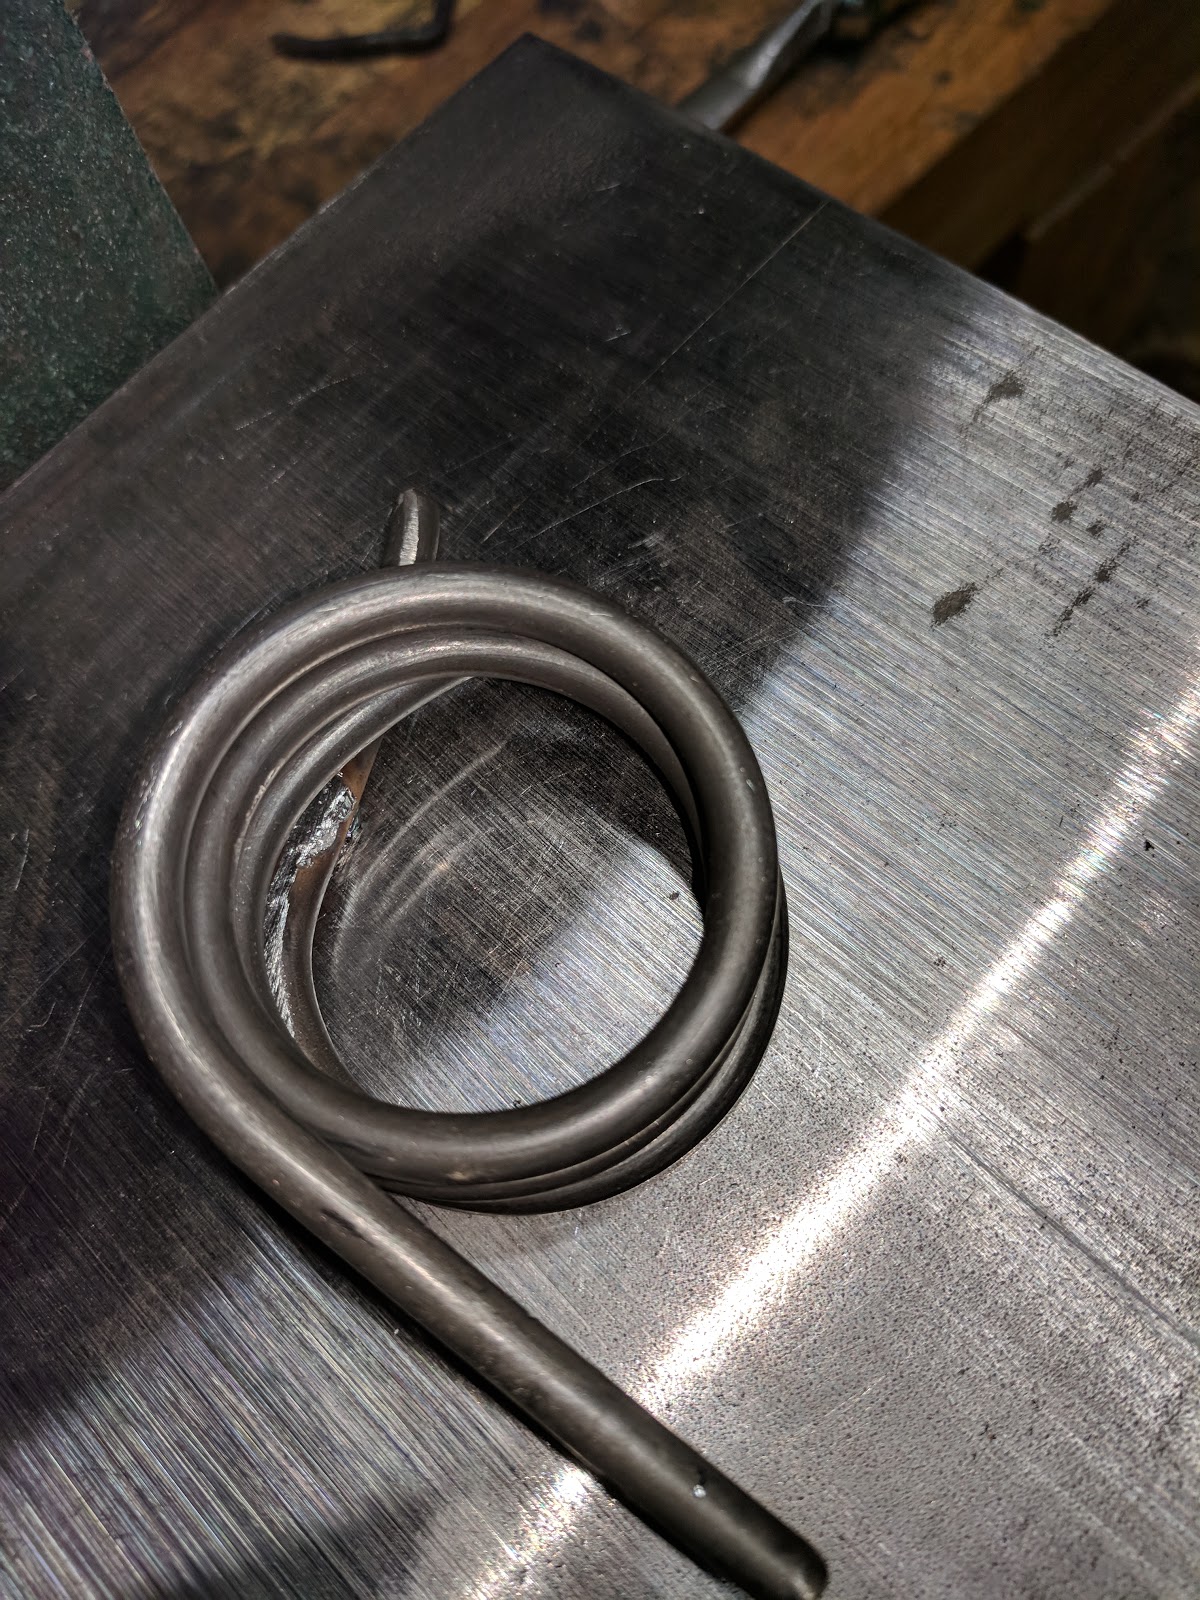
Making springs on my lathe for my belt-grinder
I needed to find a better torsion spring for my belt-grinder, but so many of the springs I could find commercially didn't have their strength in their specs! I should have looked at MCMaster-Carr probably, but I didn't think about it until someone suggested it later (way too late). In any case, I bought some 7/32" piano wire - 4 pieces of it - and went about trying to bend it into a spring by hand. That didn't go to well.
 |
| My attempts to make a spring by winding it around a 1/2" mandril (rod) by hand |
So then I remembered something about how lathes are used to make springs, so I checked out youtube to get ideas. You just pretty much just put the lathe (metal lathe, of course) in direct drive/back gear mode and wrap the wire around a mandril held in the chuck.
 |
| My first "lathe-wound" spring! Turned out pretty - but - I used too many windings and it didn't fit the area I had on my belt-grinder. |
So I decided to use a bigger mandril and use fewer windings.
 |
| It worked - but this diameter is too BIG! This spring didn't fit into the space either! |
 |
| Actually, it did fit, but not well. There was metal hitting and causing uneven torsion, which probably doesn't really matter in this application. |
So I tried winding on a 3/4" mandril (actually some of the 3/4" DOM left over from the belt-grinder build). This produced a decent looking spring that fit! Unfortunately, I installed it to test for fit and never stopped to take a picture of it outside the belt-grinder.
 |
| Finally, success! Still it was a bugger to get those spring ends into the shape I wanted! Frankly, they don't look like I want them too, but I am done messing with them! |
Belt-grinder bench build!
Now that I got the belt-grinder working and am happy with it, I decided to go right into making a bench for it to sit on (and thereby cleanup my workbench again). I based my design on
Jeremy Schmidt's design for his table, but I only used 1" square steel tube (because I had a bunch of that as scrap!) I also changed the design in that I didn't want those drawers. The storage space will be used for another purpose!
 |
| Lots of metal cutting and welding and grinding went into getting it this far! |
 |
| Oh, and I broke another metal bandsaw blade! Ack! |
 |
| I am not using a metal table, instead I used this OSB that I found in my shop that was already cut to the proper width!! |
 |
| Fitted on the table and ready to bolt down. But I didn't have any of the right size bolts on hand and the weekend was over already! |
 |
| The controls are still a concern. I might put them on the side of the bench. I hate to lose the table space. I am currently thinking of using the space under the table for welder storage! |
 |
| It fits in horizontal mode! Whew. I was worried the motor clearance might not be sufficient. |
I have a video of this that I add below a bit later.
AND - I got my tractor and UTV back from the shop!
Yay! But OMG, it was expensive. The UTV needed all 4 wheel bearings replaced and a ton of drive components fixed. But it works nice now. I drove it around the property for the first time this year!
The tractor got new left rear lights and all of the fluids changed. Also an engine tune up. It wasn't that expensive compared to the UTV.
In any case, I am in pretty good shape for when my trees arrive. I would still like to get my fence around the grapes put up and the grape arbor posts replaced (those that need replaced). I hope to get some decent weather soon so that I can do that. There's still time to do pruning too.
 |
| New left-rear lights! |
 |
| It's all nice and clean too, so I couldn't help but take some pictures! |
 |
| UTV has had some major parts replaced. |
 |
| Also, got a new transmission shift cable |
 |
| New wheel bearings for all of the wheels! (you can't see them here - but I wanted to document it somehow!) |