Arbor Day Trees arrived!
I was a bit surprised that they arrived in mid-December. The ground could well have been frozen! Fortunately, it wasn't and I was able to get out and plant them. 2 Arrowwood, 2 oak, 1 birch, 2 crypemrytle, 2 ornamental crabapple, 1 dogwood, 1 colorado blue spruce, and I forget the rest. I think I had more then was account for in the invoice.
 |
| Added the 2 new crabapples next to the others. I added the new crypemurtle and hawthorne to the end of the row of exiting crypemrytle and hawthorne. |
 |
| I put tree protectors on them because I am afraid of the deer eating them off when (if) they sprout out in the spring. |
 |
| Replaced one of the arbor-day dogwoods that died earlier this year. |
 |
| I put the 2 arrowwoods next to the driveway. I will probably put up some kind of protection for them. |
 |
| I put the river birch on the wet side of the hill near the hazelnuts. I hope I don't regret this later! |
 |
| I put the oaks and poplar out on the steep part of the field. |
 |
| I put the spruce out near the other spruce and pines. This sapling looks in VERY bad shape! |
Deer damage to the trees
While out planting the trees I didn't notice any damage, but when I took a survey later I looked more closely. The locust and spruce trees had been hit pretty hard by the deer! Lots of broken limbs - even a couple of the spruce were pulled out entirely! Now, the spruce that were pulled out where probably dead anyway, but there were a couple that took damage that were trying to grow. I will just have to put cages on the spruce I guess. But what about the locust? I cant put cages on 100+ trees! Electric fence maybe?
 |
| I noticed many locust trees had branches broken off like this. |
 |
| This spruce was pulled out entirely! |
 |
| This tree had some life in it - but i don't know that it will survive now. |
 |
| Closeup of deer damage |
 |
| You can see here the deer scraped the bark off this tree. This one is probably dead anyway though. |
 |
| They broke the top out of this one, but there is still some life as seen on the lower limbs there. |
Sawmill-Lathe-attachment progress
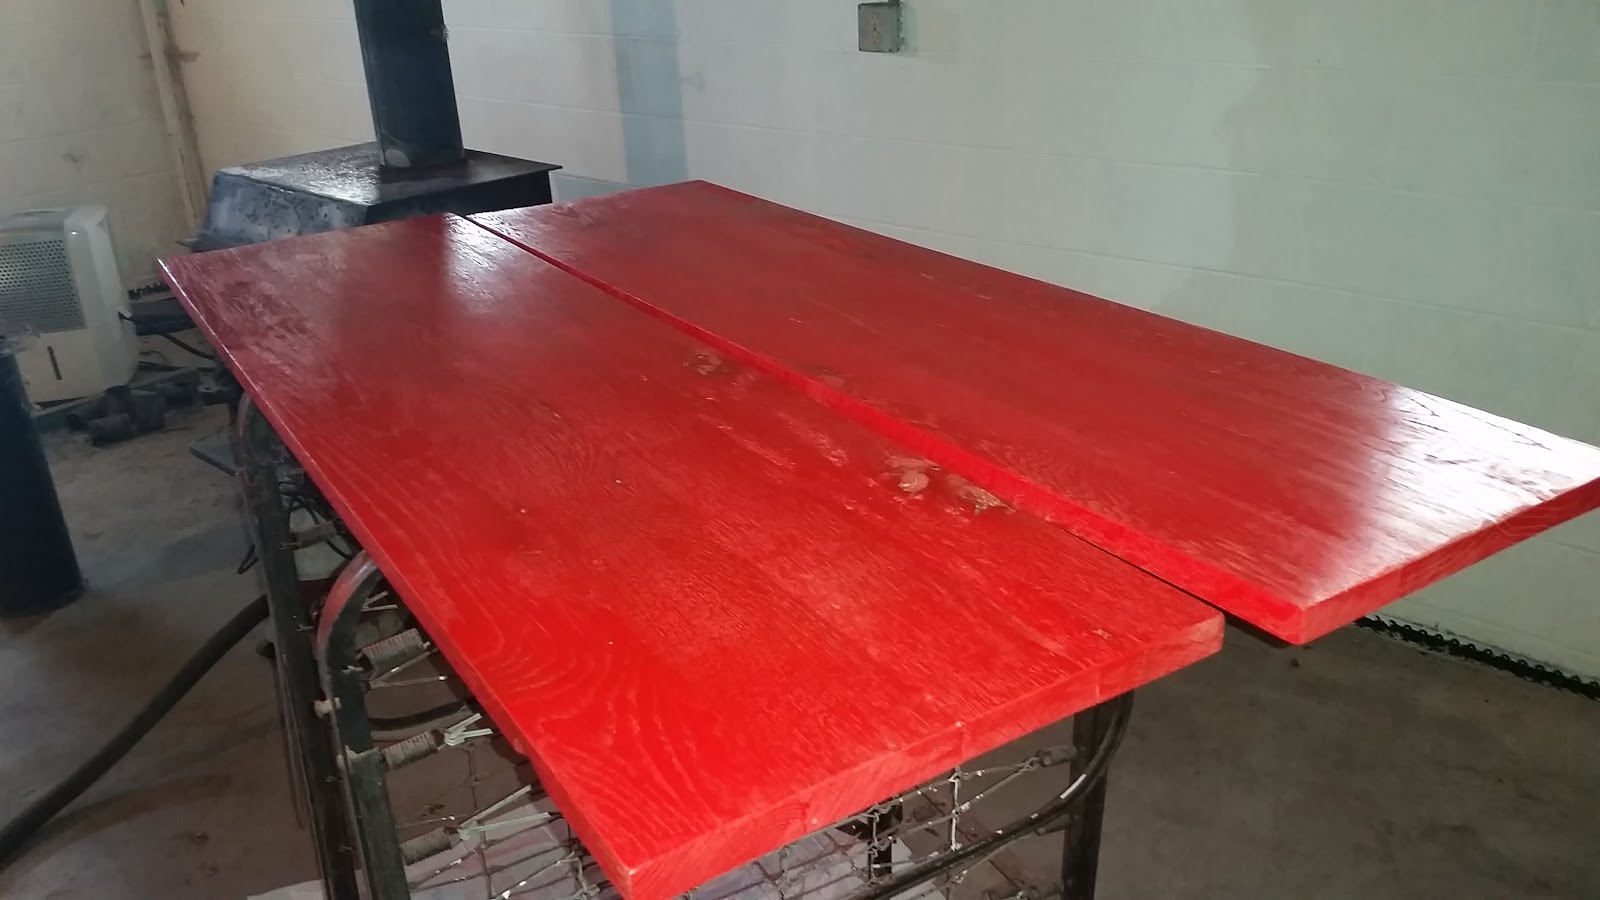
I cleaned up the glue-up panels and sanded them a bit. They are a bit wavy, but not so bad for what I need them for. I bought some red paint just because Im tired of black and white would show too much dirt. Also, I just liked it! LOL
 |
| First coat. Kind looks neat because you can see the wood grain through the thin paint. |
 |
| I completed the head-stock with its motor mount. I masked off the bearings and motor mount and painted it gray. |
 |
| I dinged the jointer blades straightening up the boards of the headstock. Grrrr.I have more on order. |
 |
| Second coat! Looking redder now. |
 |
| painting these to keep them absorbing water and deforming worse. Also, its pretty! |
 |
| Second coat for head stock. |
 |
| Looking good. |
Probably give head stock and glue up panels one more coat. I still need to complete the tailstock and paint it, as well as painting the bottom of the head stock assembly. Then I need to attach the head stock assembly to one of the glue up panels. Still need to weld the hub to the big pulley. Also, still need to make the faceplates and attach them to pulley hubs. The pulley hubs will be made by removing the pulley portions either by using the metal lathe (assuming I can get the wiring figured out) out by grinding it off. I will weld the pulley hubs to the faceplates. I practiced some with the welder this past weekend with this in mind.
 |
| Dialed in the current to use with the 1/8" rods. Looks a bit rough, I should probably practice more! |
 |
| On the other hand - this weld is super strong! |
 |
| I thought that this metal piece represented the material of the pulley and hub, but in fact I think pulley and hubs are thicker. Maybe need to adjust the current more... |
Lathe-motor wiring
I continue to try to figure this out! I decided to take pictures and investigate more.
 |
| Six motor wires |
 |
| Six wires to switch |
 |
| Wire mapping notes |
 |
| After lots of analysis I came up with a sheet of VOM tests that I can apply to the wire leads to determine what is going on without having to remove the motor from its mount. |


No comments:
Post a Comment