Cherry trees are blooming
The cherry trees in the front are blooming - the ones that survived that is. Actually, some good news on the survival front, one of the tress that I thought had died is showing signs of life! I didn't trim these trees this year in hopes that letting them go might help stabilize them a bit.
 |
| Young (2nd year) sour cherry putting on some leaves! |
 |
| Sweet cherry trees are blooming up a storm! |
 |
| Thought this guy was dead, but see? New leaves are coming! The top did die out though. |
Garden Preperations
I tilled the front patch in its new extended form, connecting the old front patch to the new big patch. Now its all one big patch. The front portion of the patch will hold strawberries and blueberries.
 |
| I just added two "permanent" fence posts for the corners. I plan to just pound in some metal stakes to support the rest of the fencing. |
 |
| Cleaned up the existing strawberry row. There was quite a bit of weeds trying to take over. |
 |
| I put the fence back in place until I can get the final fence put up. Mom says that deer love strawberries so I figured I had better try to make them a little bit difficult to get to! |
Tree Cages
I started putting up some more tree cages. I started with the hazelnut since I figure they are the most at risk. I used the old fencing from the big garden for a lot of these but I still had to use some new fencing. I will need to buy more fencing! I got all of the hazelnuts caged. I also found another stash of old fencing that I will use first before any new fencing. I also caged the new pecan trees.
 |
| I mowed this area too - it was still fairly wet as you can tell from the mower wheel marks. |
Hazelnuts
Speaking of hazelnuts, the "old" hazelnuts are well into coming out! I wonder if they get nuts on this year?
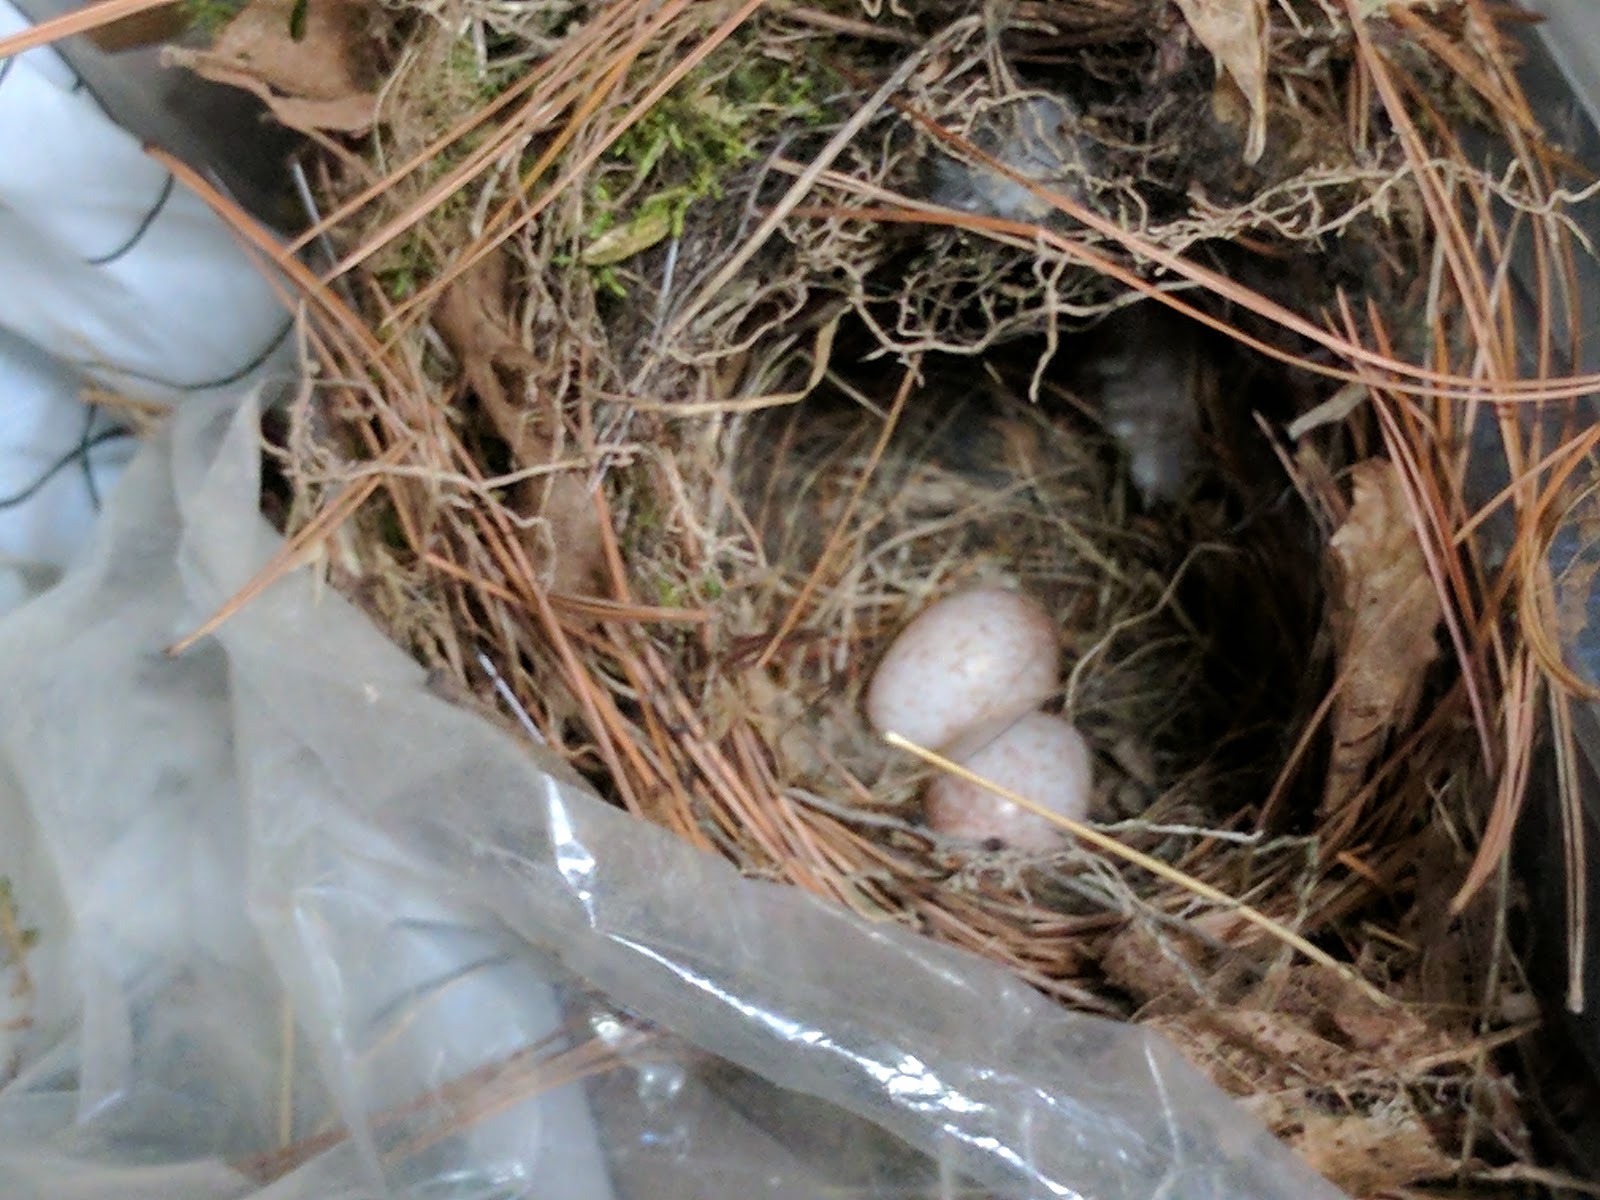
Birds nest
I found this bird nest right on my fastener shelf! Even has eggs in it. Damn bird. Turns out to be a house wren, so I want to leave it alone. Sigh. Stupid birds!
 |
| I have seen her sitting on these eggs. I try not to get too close, but its near where most of the stuff I need is! |
Table-saw pusher
I was watching you-tube videos and noticed someone using this type of pusher. Then I realized I didn't have one like this, so I made one out of some of the scrap locust. I just eyeballed the design - sketched it onto piece of wood and then traced the handle from a hand-plane. Then I used the little band-saw to cut it out. I used the big belt sander to smooth most of the edges and the little belt sander to get into inside curves. I discovered I needed some new sandpaper for the little belt sander! I ordered some more from ebay as well as a new small belt sander!
 |
| I think it turned out pretty nice for about 30 mins of work! |
More plane-blade sharpening
I continued to put my new wide blade tool to good use sharpening the wide hand-plane blades. It takes a long time - so much more metal on these big blades! I really like the new sharpening jig though. I also attached the honing wheel and polished up the blade to razor sharp!
I also read about how far back to put the chip-breaker on this type of plane. Basically, if you want big chips, pull the chip breaker far back. If you want fine chips (ribbon thin) put the chip breaker about half a mm from the edge of the blade. The chip breaker itself should have a clean edge - maybe run it through sharpening process to be sure (don't sharpen so much as put a clean edge on it!)
 |
| I put the micro-bevel on using the finest grit wheel that I have (I think its 3000). Then polished it with green chromium polish on a leather wheel. Mirror finish! |
Amaryllis still going crazy!
These flowers are doing great things this year! Beautiful!


No comments:
Post a Comment