Sunday, March 12, 2017

Well - it's winter - again!


Riding mower service time


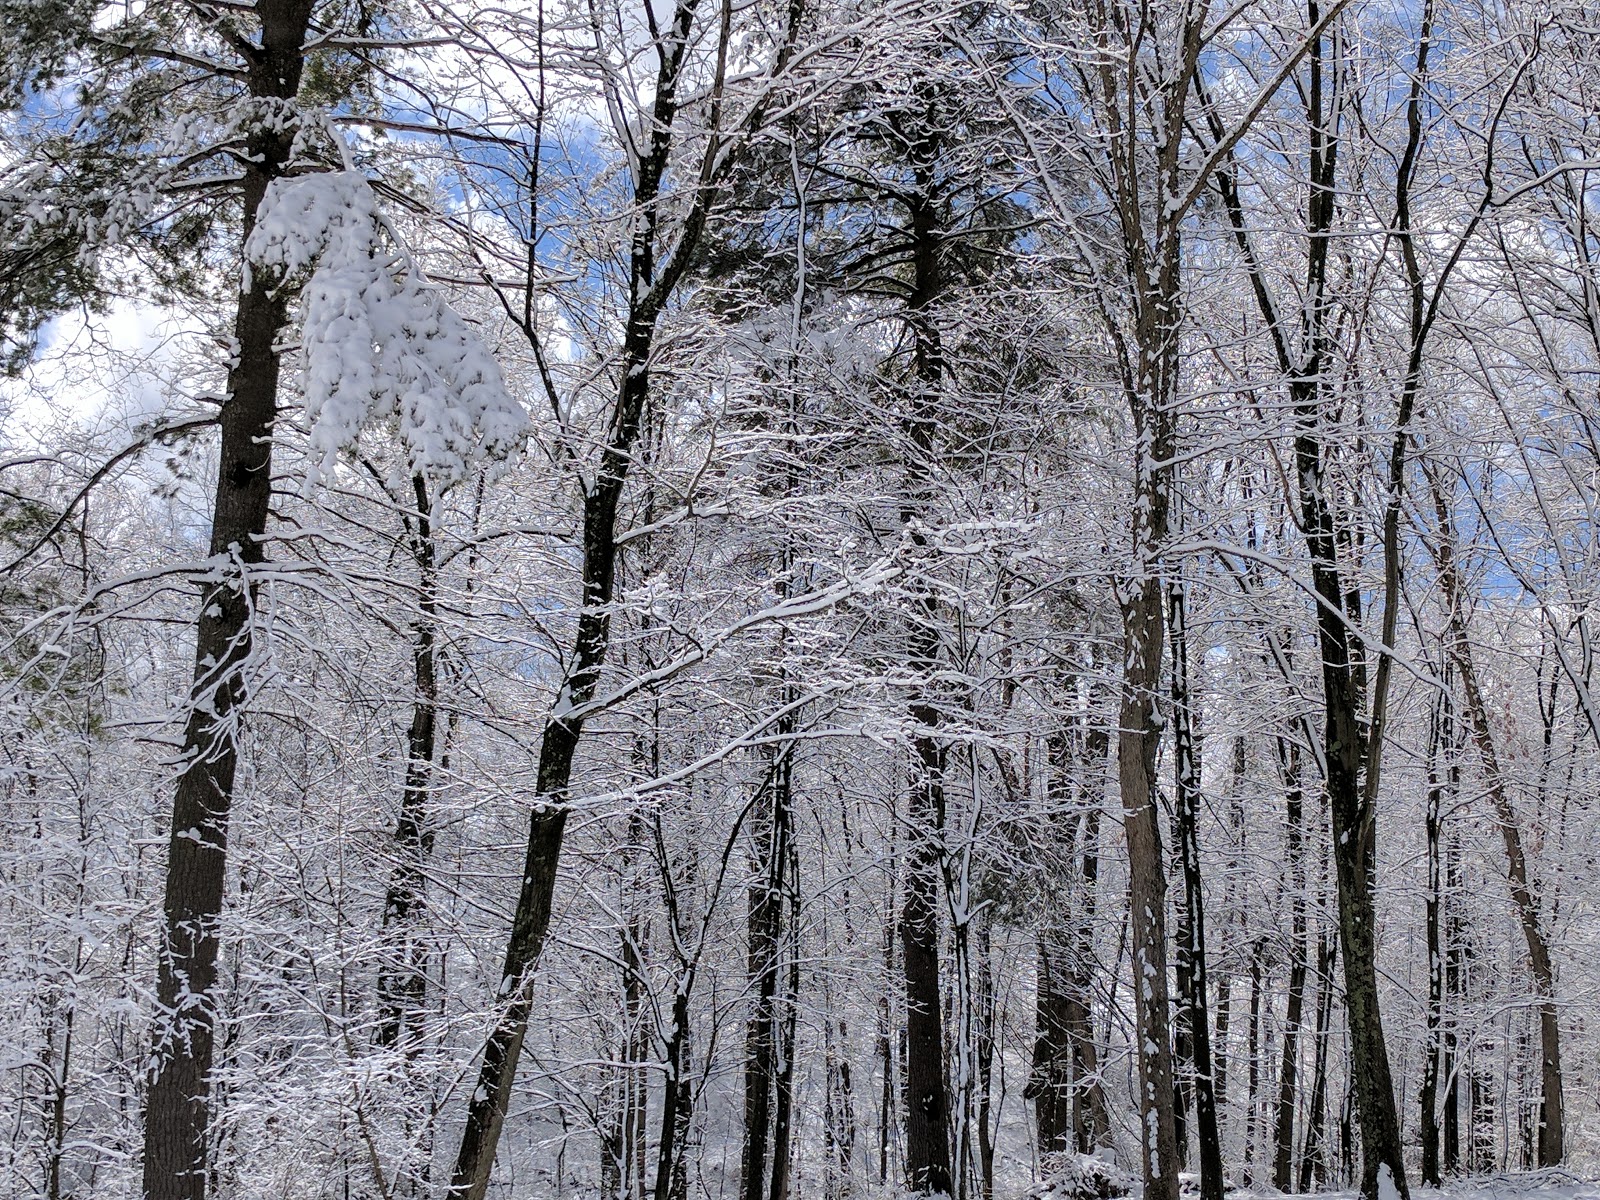
It was nice and warm Thursday.  In the 70's!.  Friday temps dropped into the teens!   Oh and it snowed more!  I drove up through the snow storm; it wasn't so bad on the roads.   It made for some nice pictures though!  I came up early on Friday to be here to have the zero-turn riding mower picked up for service.  The mower started up and I was able to just drive it onto the truck bed (they had a tilting bed truck - nice).


Shelving over the chop-saw station


I got to finally putting up the shelving over the chop-saw station.  I used a cleat attached to the concrete block wall using concrete screws.  The shelves had a lip on them that was designed to hang from - kind of like a french cleat system.  I don't know how much weight these can take.  I will try to take it easy on the weight i put in them!


Its cold as heck, so it must be time to do some rain gutter maintenance!


I was walking out to the shop and happened to look back toward the house when I noticed the rain gutter hanging about 1.5ft from the roof!  In fact, about half the length of the gutter on the front of the house had been pulled away by winds!  So I immediately found some fasteners (fortunately I had 3 packs of screws and ferrules made for this purpose on hand!) and got the big step ladder out.


I never think to get the "before" shots! :(  So this is after repair shot of the front gutter.  This piece was about 1.5ft from the roof when I started.

I went ahead and repaired the entire front.  Cleaned it while I was at it.

That should hold (famous last words...)

Here is the back side of the house - THIS is a BEFORE picture - lol - finally.

It has pulled away some, but most of the gutter is still intact.

NIce after shot. All clean and screwed up tight

After shot of front.

After shot of rear.

Scrub plane refurbishment


I started going through my recent ebay purchases and found my "new" replacement base for my recently acquired scrub plane.  The seller of the scrub plane said that he discovered the plane in a pile of dirt in an old family barn.  It was in fairly decent shape, considering how it was treated, but the base had been rusted pretty bad - big pitted rust marks.

Hard to see how deep these pits go in the picture - they are almost a 16th-8th on an inch deep!

So I found a replacement base for this plane on ebay.  It was also old and rusty but it wasn't as bad as the original.  I replaced the original base and started cleaning it up.

As per my usual habit I did get a before picture!  Here is a shot of the base after considerable cleanup.


Here is kind of a midway through picture.

Below are the after pictures!  I sanded the wood portions some and treated with danish oil.  I lightly oiled the metal surfaces to keep them from rusting.    I had to trim the bolt that runs through the rear handle to get it to tighten sufficiently.  All in all - I like it!


This Stanley 40 Scrub plane is ready for some work! Actually, I need to sharpen the blade yet - but otherwise its good to go!
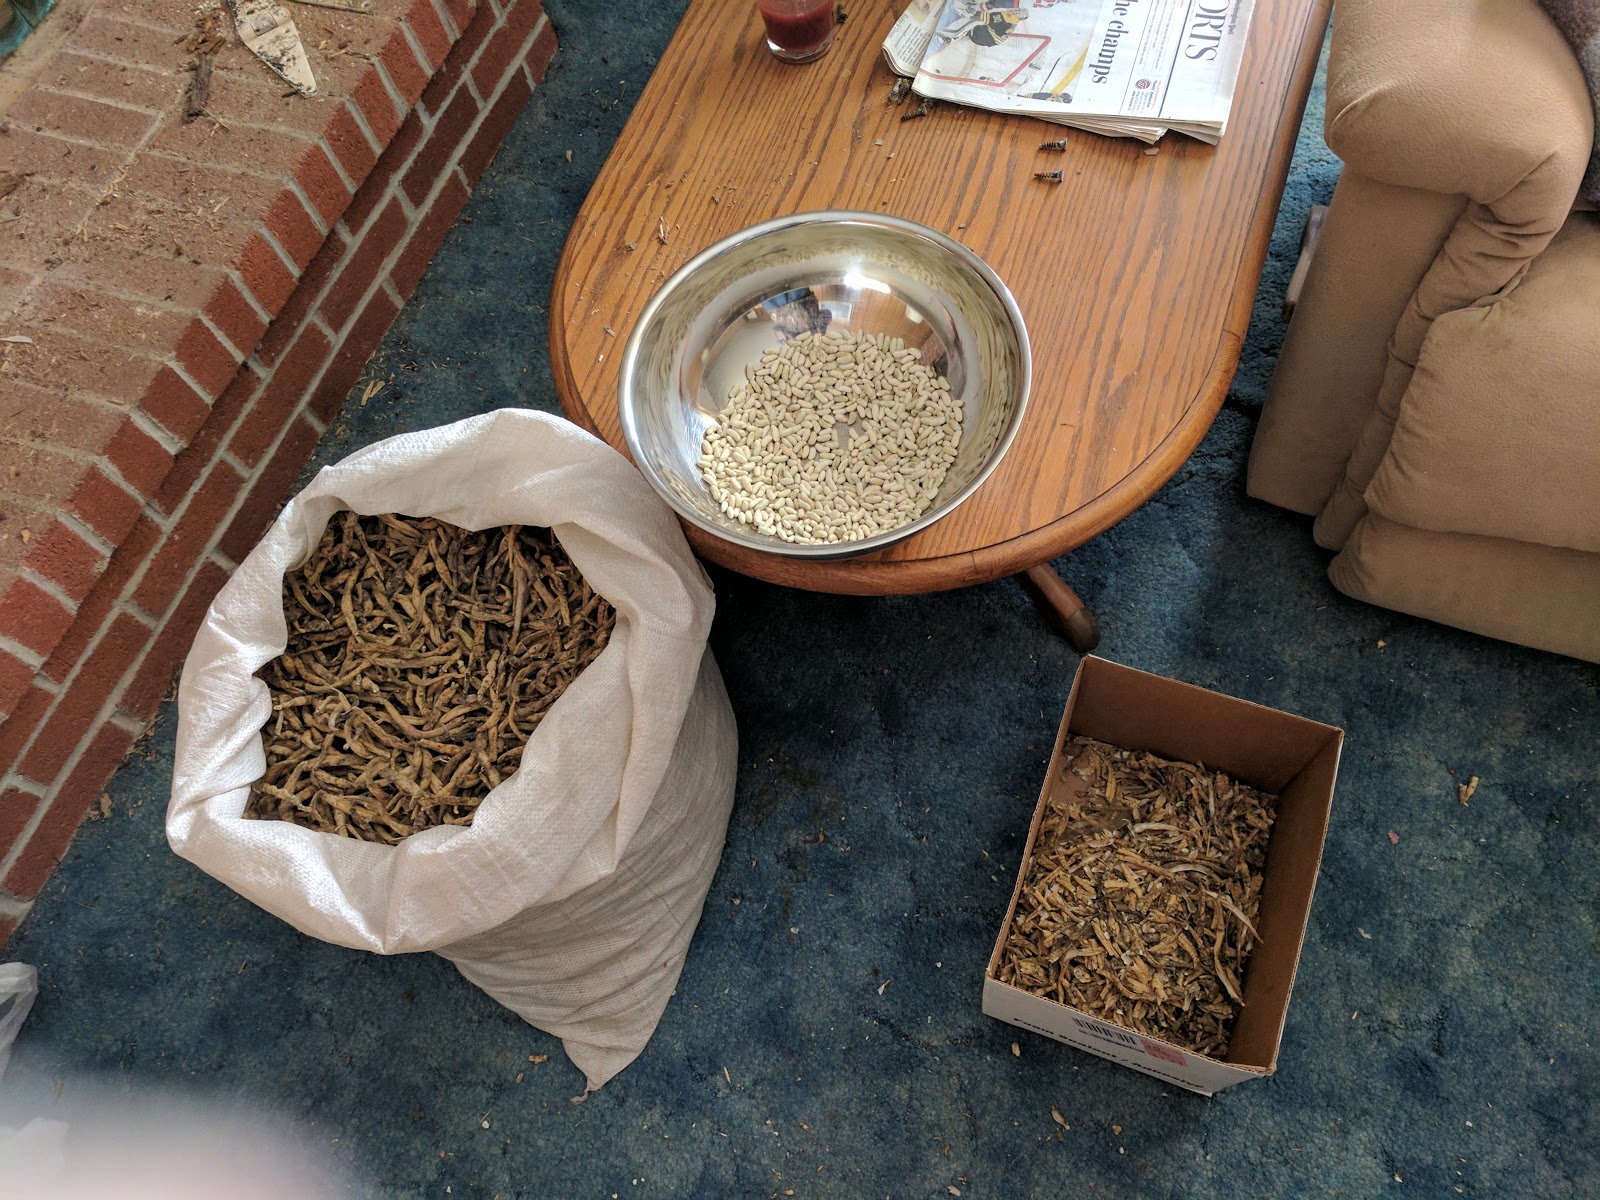
Shelling beans


It was cold out and I couldn't get to most of my to-do items so it was time to shell some beans!  These are "accelerate" variety of bean.  This coming year I think I will just plant kidney beans and maybe some navy beans,  These beans, "accelerate" and "velour" are just too small and difficult to process.


Sunday, March 5, 2017

fruit tree care, weather reversal - again, and some water tanks


Water tank delivery


I got up to the farm early so that I could be there for my water tank delivery.  They delivered using a small panel truck with a lift gate (which I didnt need since I have fork lift). Here is what they look like:


I checked each and they are super clean inside.  Two of them smell like dishwashing liquid and one has no smell at all.  Excellent!  I need to figure out where I am going to store them.  I plan on using these to store water in case of drought later in the year.  Last year it got so dry I was afraid that some of the trees would die (one did, but I don't think it was from being dry).


Weird Weather


Was warm Friday.  Then weather changed (again) and was snowing like crazy the next day!  


Fruit tree care


Fortunately, while it was still warm, I finished trimming the fruit trees!  Finally got around to spraying them with dormant oil.  Also sprayed the grape vines too.  It took 7 gallons of spray.  I put an order in for a tow behind sprayer.


I didn't trim as aggressively this year.  The trees are getting mature now and I just need to trim out problem branches.


Sunday, February 26, 2017

Grape Vine and Fruit tree trimming. Chopsaw station


Water tanks


They didn't arrive on Friday the 24th as expected.  Damn.  NTO contacted me just before they closed to say that the sub-contractor needed my phone number.  IDK why NTO just didn't given them my number..

Anyway, I was able to contact the local/sub on Monday morning (everyone was closed over the weekend) and arranged for delivery at the farm on March 3.  That's my CWS day but I will have to be there that morning so I will probably take off for the farm Thursday afternoon.


Grape vine and Fruit Tree trimming started


It was a real nice day on Friday - I mean like in the 70's!  So i decided to work out trimming the grapes and trees.  I have been sick the last couple of weeks so this was really nice to get out in the nice weather.  I got the grape vines entirely trimmed and 13 of the fruit trees done before I called it quits for the day.   It rained and was miserable on Saturday, but I was able to get back out on Sunday, and managed to trim another couple of rows of trees.  I still have about 4 rows left to trim.

Jay Knepper stopped by and asked if I could help him trim some plum trees next weekend.  I said sure.  The trees he described are much older trees that aren't producing like they should, probably because they haven't been pruned properly for that last several years.  I will take a look and see.


Chops saw station and more shop cleanup


I did some estimating and thinking and video watching until I came up with a design for a chopsaw station that should work for me.   I have a lot of "scrap" wood in the shop that is in my way - in fact it was in the way of where I wanted to put the chop saw station!  So I used as much of that scrap as I could in building the station..  I still needed to do a good amount of cleanup and fiddling around to get the chop saw station installed.  I must admit though that having more table space really helps when cutting the OSB sheets!  Here are some pictures:

I used 3 different non-connected tables.  This helped in leveling later but my intent was so that I could use the tables as outfeed for the table saw - which is at the same height.

I used the remains of an old barn gate for the table top of the chopsaw table and for the underneath storage shelves


Its hard to see in this picture, but the table to the right looked way off square. I checked it and the table was ok - but the FLOOR was really off level there!


I added shims under the feet of the two tables on the ends.   Look at the feet of the table on the right - the far right side has almost a 1/2 inch shim under it to bring to level!

Each table is level, the and chopsaw is shimmed up to level between the tables.

I hope I don't need to move these much! LOL Shimming is easy but it could be painful if I have to redo it alot.

The shelf on the left of this picture needs to be moved so that I can get to my radial arm saw (I need it for dado cuts)

So I moved it here!  I am using it for fastener storage and some small tools


I can finally get to the raial arm saw again!  I still need to clean a lot of crap out of there though...

Sunday, February 19, 2017

Hugelkultur in my raised beds

I survived the flu!


So i decided to celebrate by going out and doing some good ole manual labor!  Nothing like being house-bound for over a week to make me go mad.  

The "Hugelkultur" thing is a fancy name to an old technique of simply burning wood and debris under your garden to help maintain moisture and improve soil quality by adding lots of organic mulch and wormfood!  In fact, this is not the first time I have used this technique in this same raised bed!  

Depending how much wood, the size of the wood pieces, and other factors, about every three years I dig in more wood.  This time I did discover some of the wood pieces hadn't quite all rotted up yet, but they were close enough.  This time I added a considerable bit more wood to the mound.  Also added some leaves that didn't get to the curb last fall.  


The soil quality is much improved where I have done this in the past.

You can still see some raw clay here in the dirt i dug out from deeper down and along the edges of the bed.

Here it is all filled back in and ready to plant

I still need to put a fence around this - the dogs LOVE to dig in fresh soil!

Also, I don't trust this weather - damn near hot recently - and then cold and windy just days later.  This doesn't bode well for the fruit trees this year!