Weather reports called for rain, so..
As soon as I arrived Friday I went right to work transplanting the brassicas (brussel sprouts, cabbages, and bok choi). I had to rake down the soil a bit since the soil in the far patch was somewhat uneven where I wanted to plant. I used a handfull of blood meal in each hole since I know the leafy veggies like nitrogen (and the soil in that area is not great). I was working as fast as I could since I also wanted to get 3 paper-birch trees planted. I put down black plastic as I went. After planting the brassica I remembered that I also receive a bonus bunch of stuttgart onion bulbs with the latest nursery order, so I placed them in the far patch right next to the brassicas. Whew!
Here is the updated garden plan:
 |
| You will have to save an view this in separate tab - too big to fit here! |
Planting more trees - Birch!
The problems was where to plant them! I looked planting instructions up for them and found that there really was no available space for them on the farm! We had planned to remove some of the trees along the stream bed next to the house, but that project hasn't progressed far yet. So I choose to plant them out near the sheep-pen elderberries. It's not great soil, but it does have water which they supposedly like. If they thrive there then at least their roots won't get into anything.
 |
| They are marked with orange flags |
 |
| I really should put up some cages around these. Fresh shoots will be very tempting to the deer I bet! |
 |
| I will have to mow around them until they get big enough to compete with the weeds. |
Then the rains came - in abundance!
 |
| Almost 1.5" ! |
That night a significant amount of rain fell. I checked the rain gauge I had out all week and it only read about 1/4". After the rains Friday night the gage was almost up to 1 inch - 3/4" overnight! It was still raining most of Saturday - but a more tempered rain. Which was good, nice slow rain that soaked into soil a bit. We needed it. However, with the rain came COLD. It got down to 39F on Saturday (Friday?) night! I didn't turn the heat on in the house and I remembering dreaming that everything froze!
Since it was raining I decided to work on my milling machine arbor.
Arbor work
First off, I turned the taper!
I had spent so much time last weekend setting up the taper angle on the compound feed but I didn't use it until today! The taper measures out as close as the original, at least to the degree that I can tell! The difficulty was determining where to start and stop it! The original arbor does not start the taper right next to the flange, but rather about 0.10 " down the shaft. I tried to reproduce the original arbor as best I could. I guess the final fitting will tell! The final fitting may be a ways off yet though. I need to cut the keyway for it to fit in the spindle and I haven't ordered the keyway milling tool yet!
 |
| Sorry for the blue. That layout fluid is a mess! |
 |
| The taper measures out correctly in length. We will see! |
Next step: grinding the surface of the arbor shaft.
I got my toolpost grinder out and commenced to setting it up. A number of problems descended on me at that point! One problem was that I needed to dress the wheel but that meant that I would have to take the part out from between centers since my dressing tool holder didn't clamp to the piece. The second problem was that the wheel would have to be run slightly askew since the tool post grinder was mounted on the carriage in such a way that there was no room to move the grinder further down the bed! Then, while I managed to get the wheel dressed at an angle, when replacing the part in between centers an trying to align the wheel face with the part I quickly realized why everyone gets a wheel dresser tool that clamps to the piece to grind! It's would be very difficult to get the wheel surface and the part aligned correctly. At this point I realized that I would have to make a wheel dresser too holder that clamps to the work!
Umm - next step - making a clamping wheel dresser
I decided on a simple two-bar bolt-together clamp approach - very similar to my lathe dog clamp. The only difference would be that the center of one bar would have a hole drilled in it to hold the diamond dresser. I used the milling machine to cut the 90 degree "wedges" that will center and hold onto cylindrical parts. The only piece of metal (besides heavy inch thick plate that I wanted to save) was an old PTO shaft off of the auger. Cutting the shaft wasn't too bad after I changed the bandsaw blade to a finer tooth, but cutting the "wedge" was trying - the milling machine head got pretty darn hot and I had to take extremely light cuts (.005" per pass!) Also, I noticed after the wedge was cut that the bar had slipped while cutting and the wedge was not dead center in the bar anymore! The centering issue was, of course, correctable by chopping off the long side of the bar. Next step was to drill holes in this stuff. I decided to use the mill to drill the holes since it is more accurate.
Drilling the holes was the bulk of the work on this job! No drill bit that I had in the shop would touch this steel! After several bent or broken drill bits I went in to the house to check for youtube ideas. I found one video that suggested using a carbide tipped masonry bit - but you have to sharpen it first. I went back and tried that. I found that it is difficult to sharpen a bit by eye and I am not sure the carbide sharpened at all. Anyway, it didn't work. Then I remembered that I had a special bit that I had bought years ago to drill holes in the back of the riding mower to attach a hitch. I rummaged through my toolboxes and eventually found it! It was a 3/8" bit, but that would have to do. It was a long bit - straight fluted - and barely fit in the milling machine because of its length. It went through the hardened steel quite nicely! The center hole had to be widened - I used my normal HSS bits for that. They bits barely survived (well, one got broken), but I got the hole to the correct size. I went for a "press fit" for the dresser since there was no way for me to drill a hole to put a set screw in! Eventually, after fiddling and such the dresser-clamp came together and I was able to dress the wheel quite nicely. Now i have a new and very useful tool that I made in my tool kit! Very proud!
 |
| Simple design |
 |
| It would have taken me about 30 minutes to make this if it weren't for the super hard steel! |
 |
| But I got it done |
 |
| It works great! I put the lathe in backgear but don't disengage the main drive. This essentially locks the head. |
 |
| Of course, the lathe isn't turned on! I aligned the diamond by eye - its not super critical. Just so the diamond is the only part of the dresser to touch the wheel. |
 |
| Then i just manually feed that carriage so that the wheel crosses the diamond. I tried to take small amounts off at a time so as not to heat the diamond too much. |
No, back to grinding the arbor
I took the shaft off the lathe and over to the milling machine. Of course, since I don't have the keyway cut yet, I knew that the shaft wouldn't be able to fully seat, but at least I could judge the snugness of the arbor in the spindle.
 |
| The spindle socket. |
 |
| It fits so far... |
 |
| Ok - its in as far as it can go without the keyway being cut. |
 |
| However, there is some wiggle - very little - but some... |
So testing the fit showed that there was a slip fit with some wiggle - but how does this compare to the original? Well, I tried the original and found it to also wiggle a little bit! I oiled up the new arbor shaft (very light oil coat which I wiped off with a rag - I just wanted protective coat) and tried both original and new arbors again. Both shafts fit snugly enough that air will compress in the spindle tube (the collet draw bar would push out when inserting the arbor and suck in when removing the arbor)! I think its ok. Whew.
The next step should be to cut the keyway, but I haven't ordered the keyway milling tool yet - maybe next weekend? If I don't get the keyway miller in time for next weekend I will put the threads on the end and then proceed to start cutting the other side of the arbor.
Fruit is coming on my fruit trees!
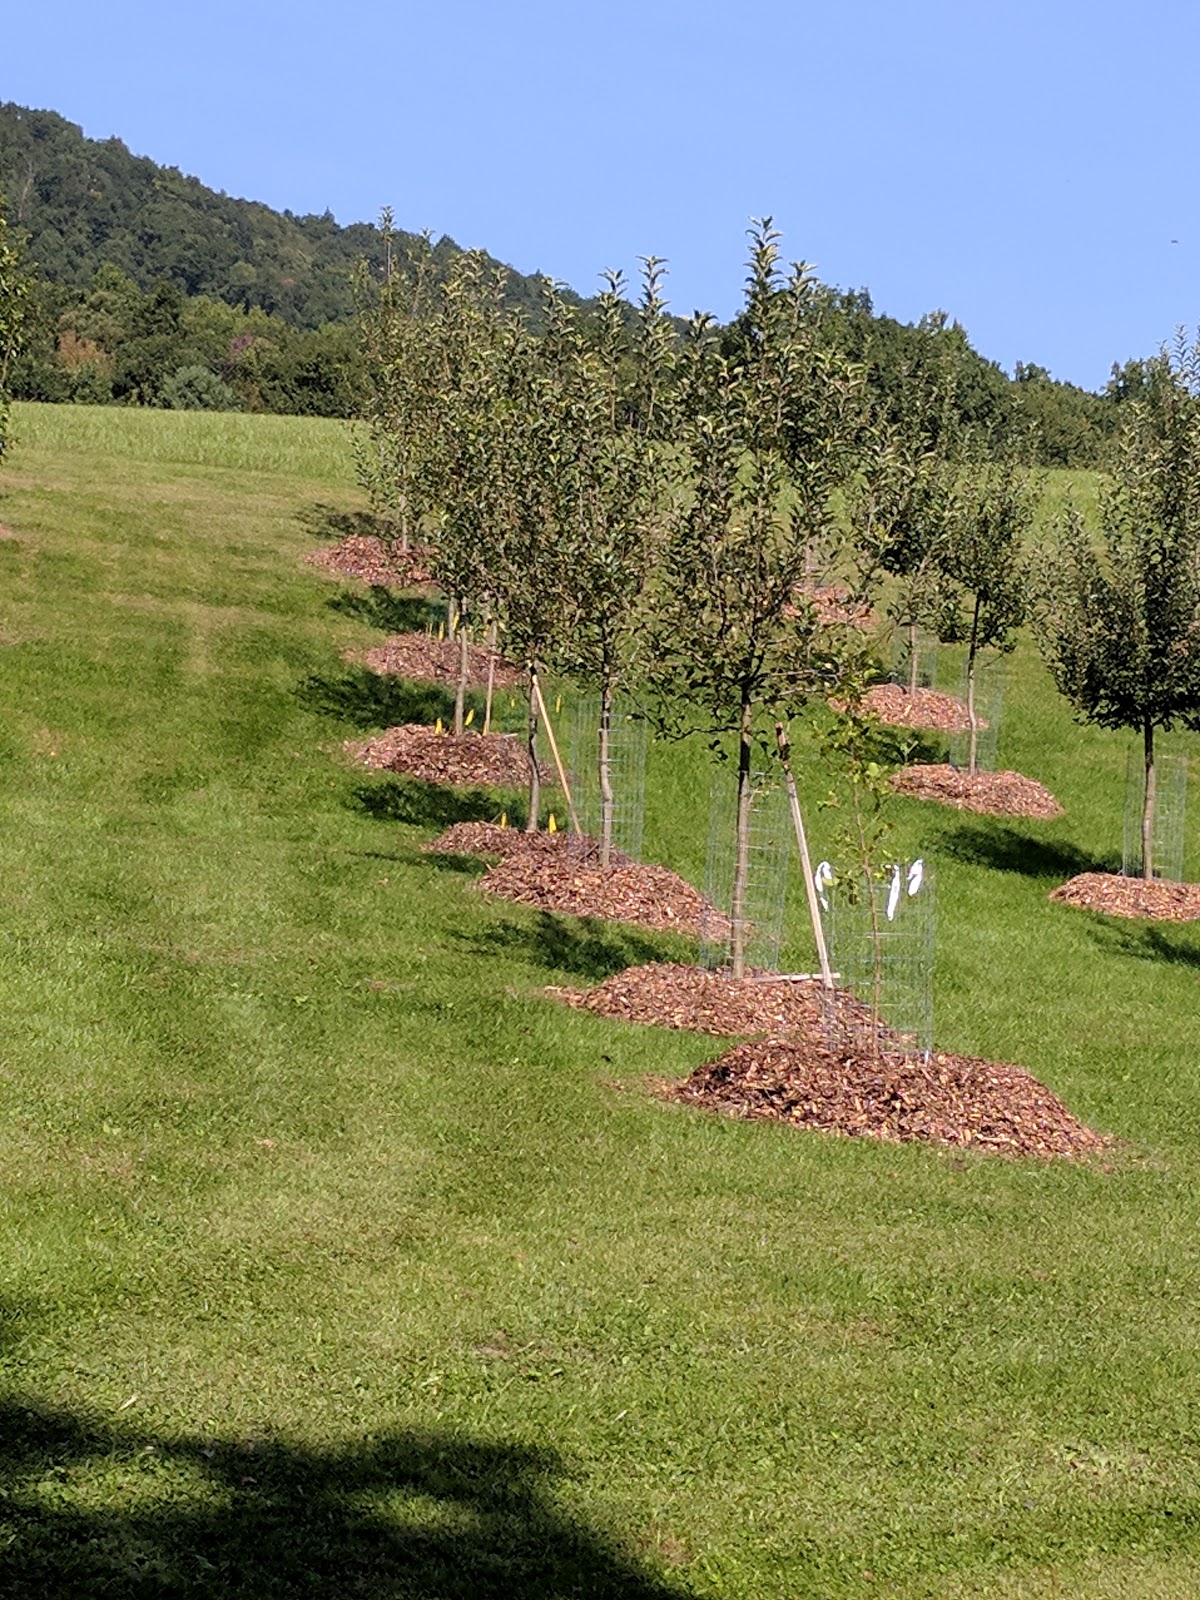
I did a walking tour through the orchard an took some pictures of the various fruit that I found. Neat! This should be the last year that I don't harvest - next year is their fourth year and I can let them fruit fully then!
 |
| Asian Pears - loaded - as usual. |
 |
| Actually, only one of the 4 asian pear trees gets many on. The rest are not that productive. |
 |
| Apples! |
 |
| Extensive deer damage to this young crabapple tree! |
 |
| Birds nest! |
 |
| Deer tracks in the mulch |
 |
| Deer damage - they eat the young leaves off of the lower branches |
 |
| I don't see a lot of peaches, but I do see some! |
 |
| More deer damage |
 |
| Not sure what kind of apple tree this is, but its got a lot of apples on it! |
Ornamental Grass Plantings
I also received my order of ornamental grasses from the nursery. I took most of them up tot he farm to plant. I didn't take the blue oat grass because it looked dead and I hope to let it recover indoors before transplant.
Anyway, I got 24 blue festuca grass "plugs". I planted them around the front porch.
I also got 6 white Pampas grass plugs. This stuff is capable of growing up to 8 ft tall so I wanted to put it some where that wouldn't be a problem. I chose next to the step to the shop and own at the corner of the driveway (but not out so far as to cause blind spot to traffic on the road).
 |
| 3 down by the driveway entrance |
Family visit
Saturday, Tom, Julie, and Mom stopped in to visit. I gave them a tour around the place.
 |
| Crop circle! |
 |
| Snapping turtle in the mud - he eating those tadpoles! |
 |
| Plenty of tadpoles! This is in the mud 'pond' near the road. |
 |
| Julie looking toward the new locust tree planting |
 |
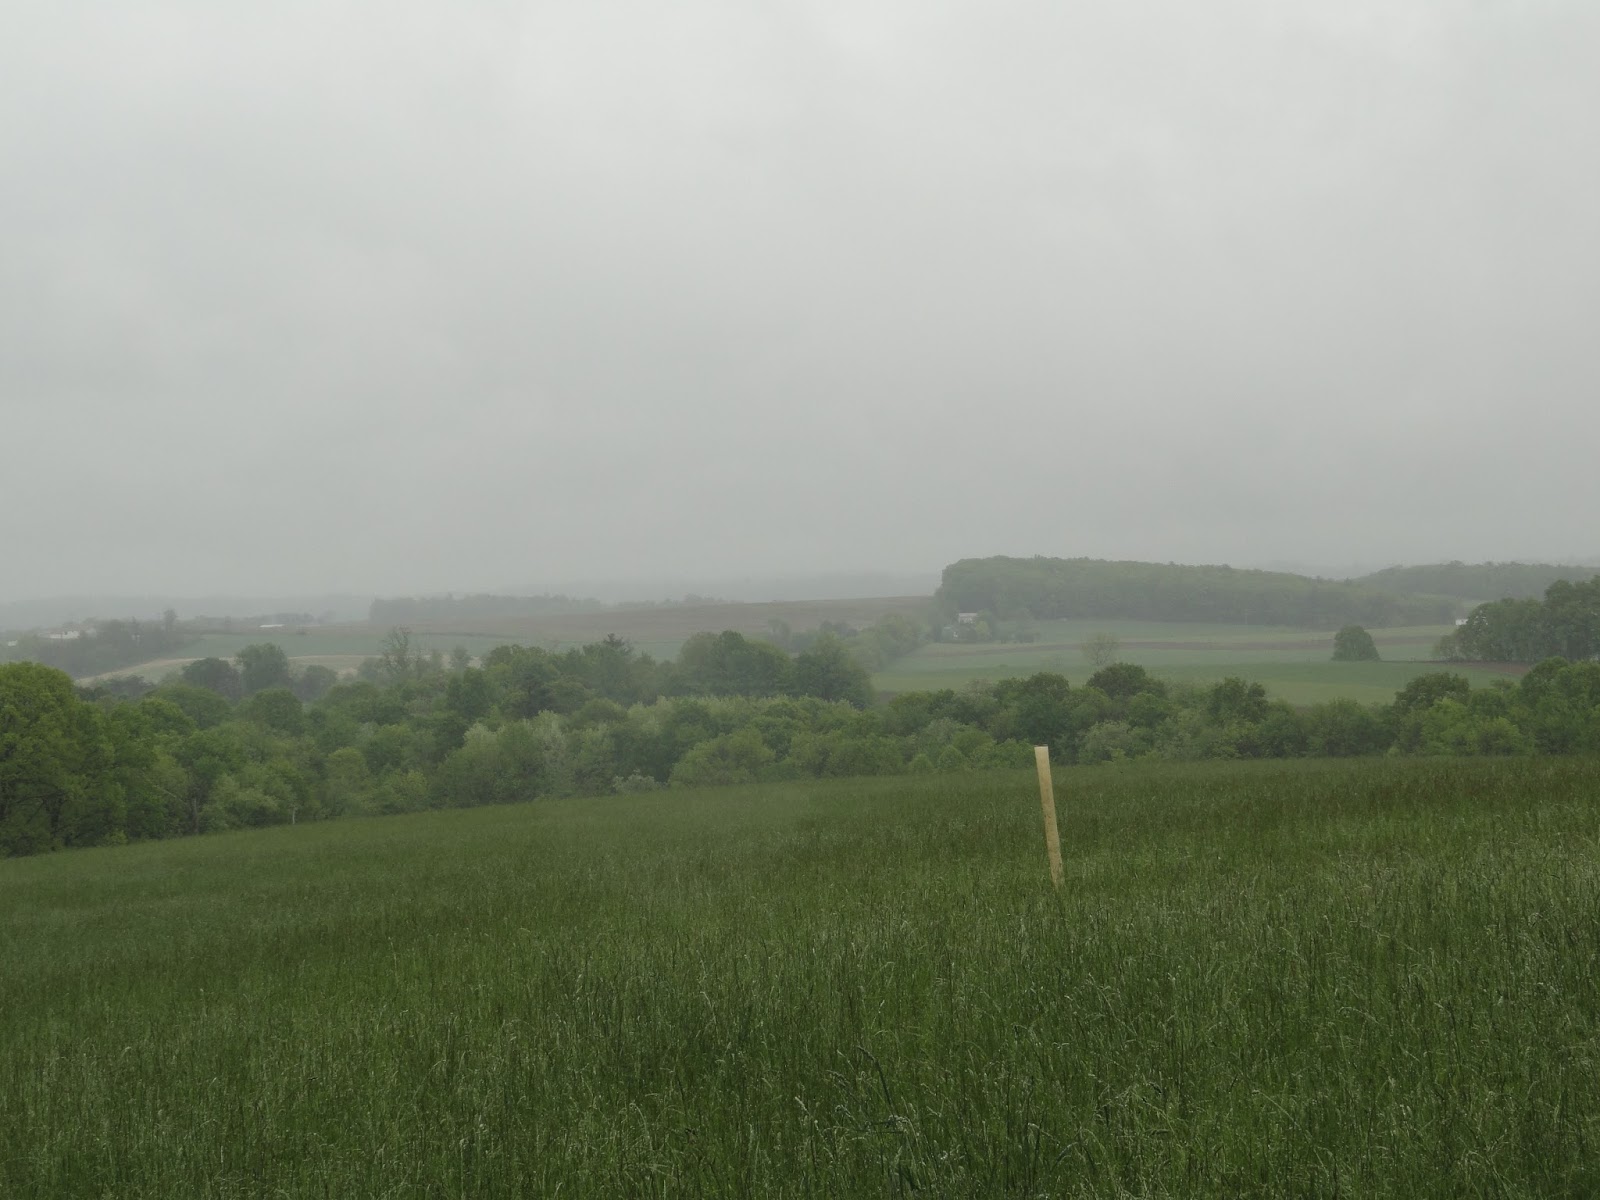
| Looking out across the valley from the upper field. |
 |
| Taking a look at the cottonwood trees! (that's what we decided all that white fluff was from shown in last weekends blog) |
 |
| Some neat looking fungi |
 |
| Me telling the folks about the deer (probably) |
 |
| Tom liked this lichen |
 |
| Looking up the mountain from the upper field |
A few around the farm pictures
 |
| Neat clouds! |
 |
| Front garden is growing, but its getting weedy! |
 |
| Guinea fowl |
 |
| A view of the new forsythia (now with orange flags too!) |
 |
| Blooming strawberries! |